Do you love easy, delicious recipes? Join the Food On Paper family and never miss a recipe
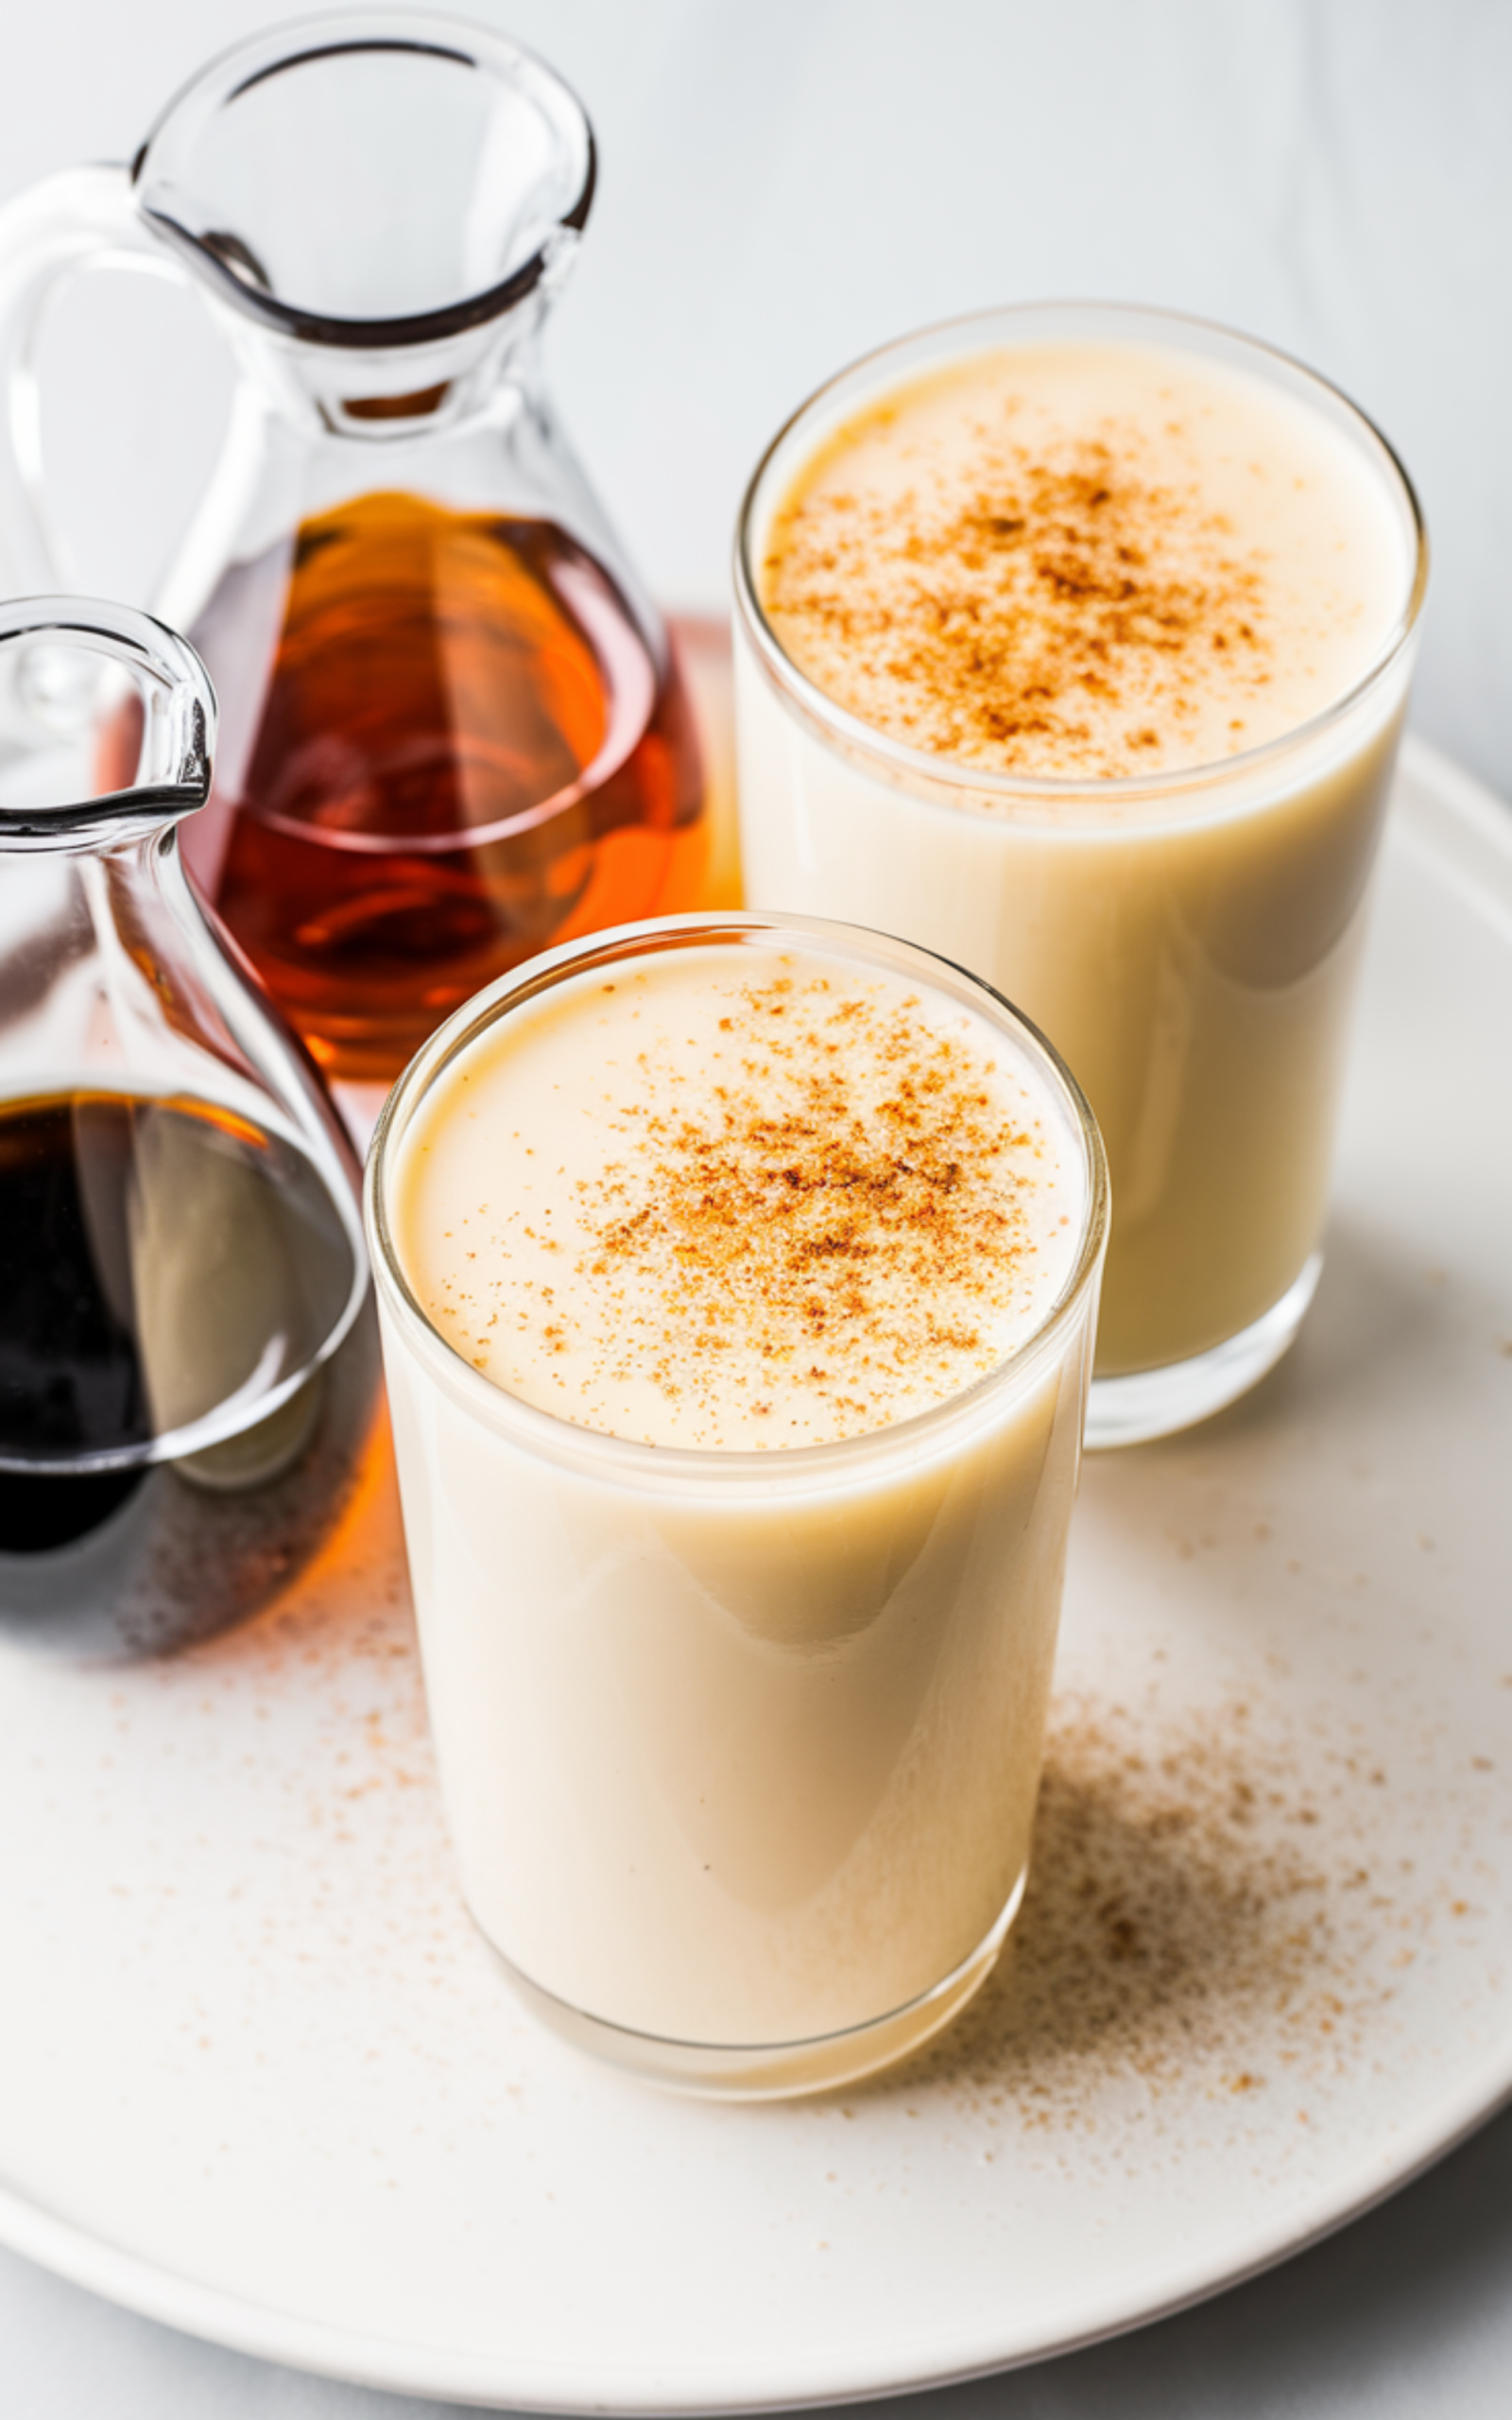
homemade eggnog
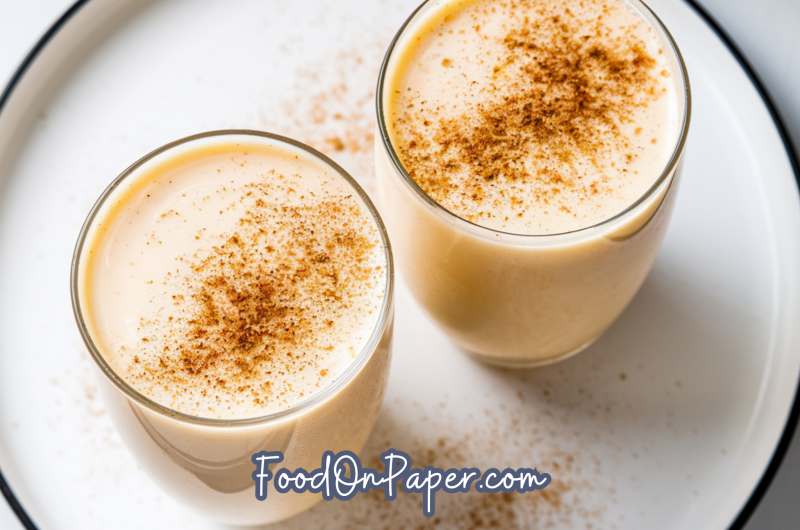
Every December, I make homemade eggnog the night before our holiday movie night, and my kids know it means the season has officially started. This homemade eggnog is creamy, perfectly spiced, and worth every stir. I love serving homemade eggnog with my Homemade Cheez-its, soft gingerbread cookies, and warm cinnamon rolls for the coziest holiday treat.
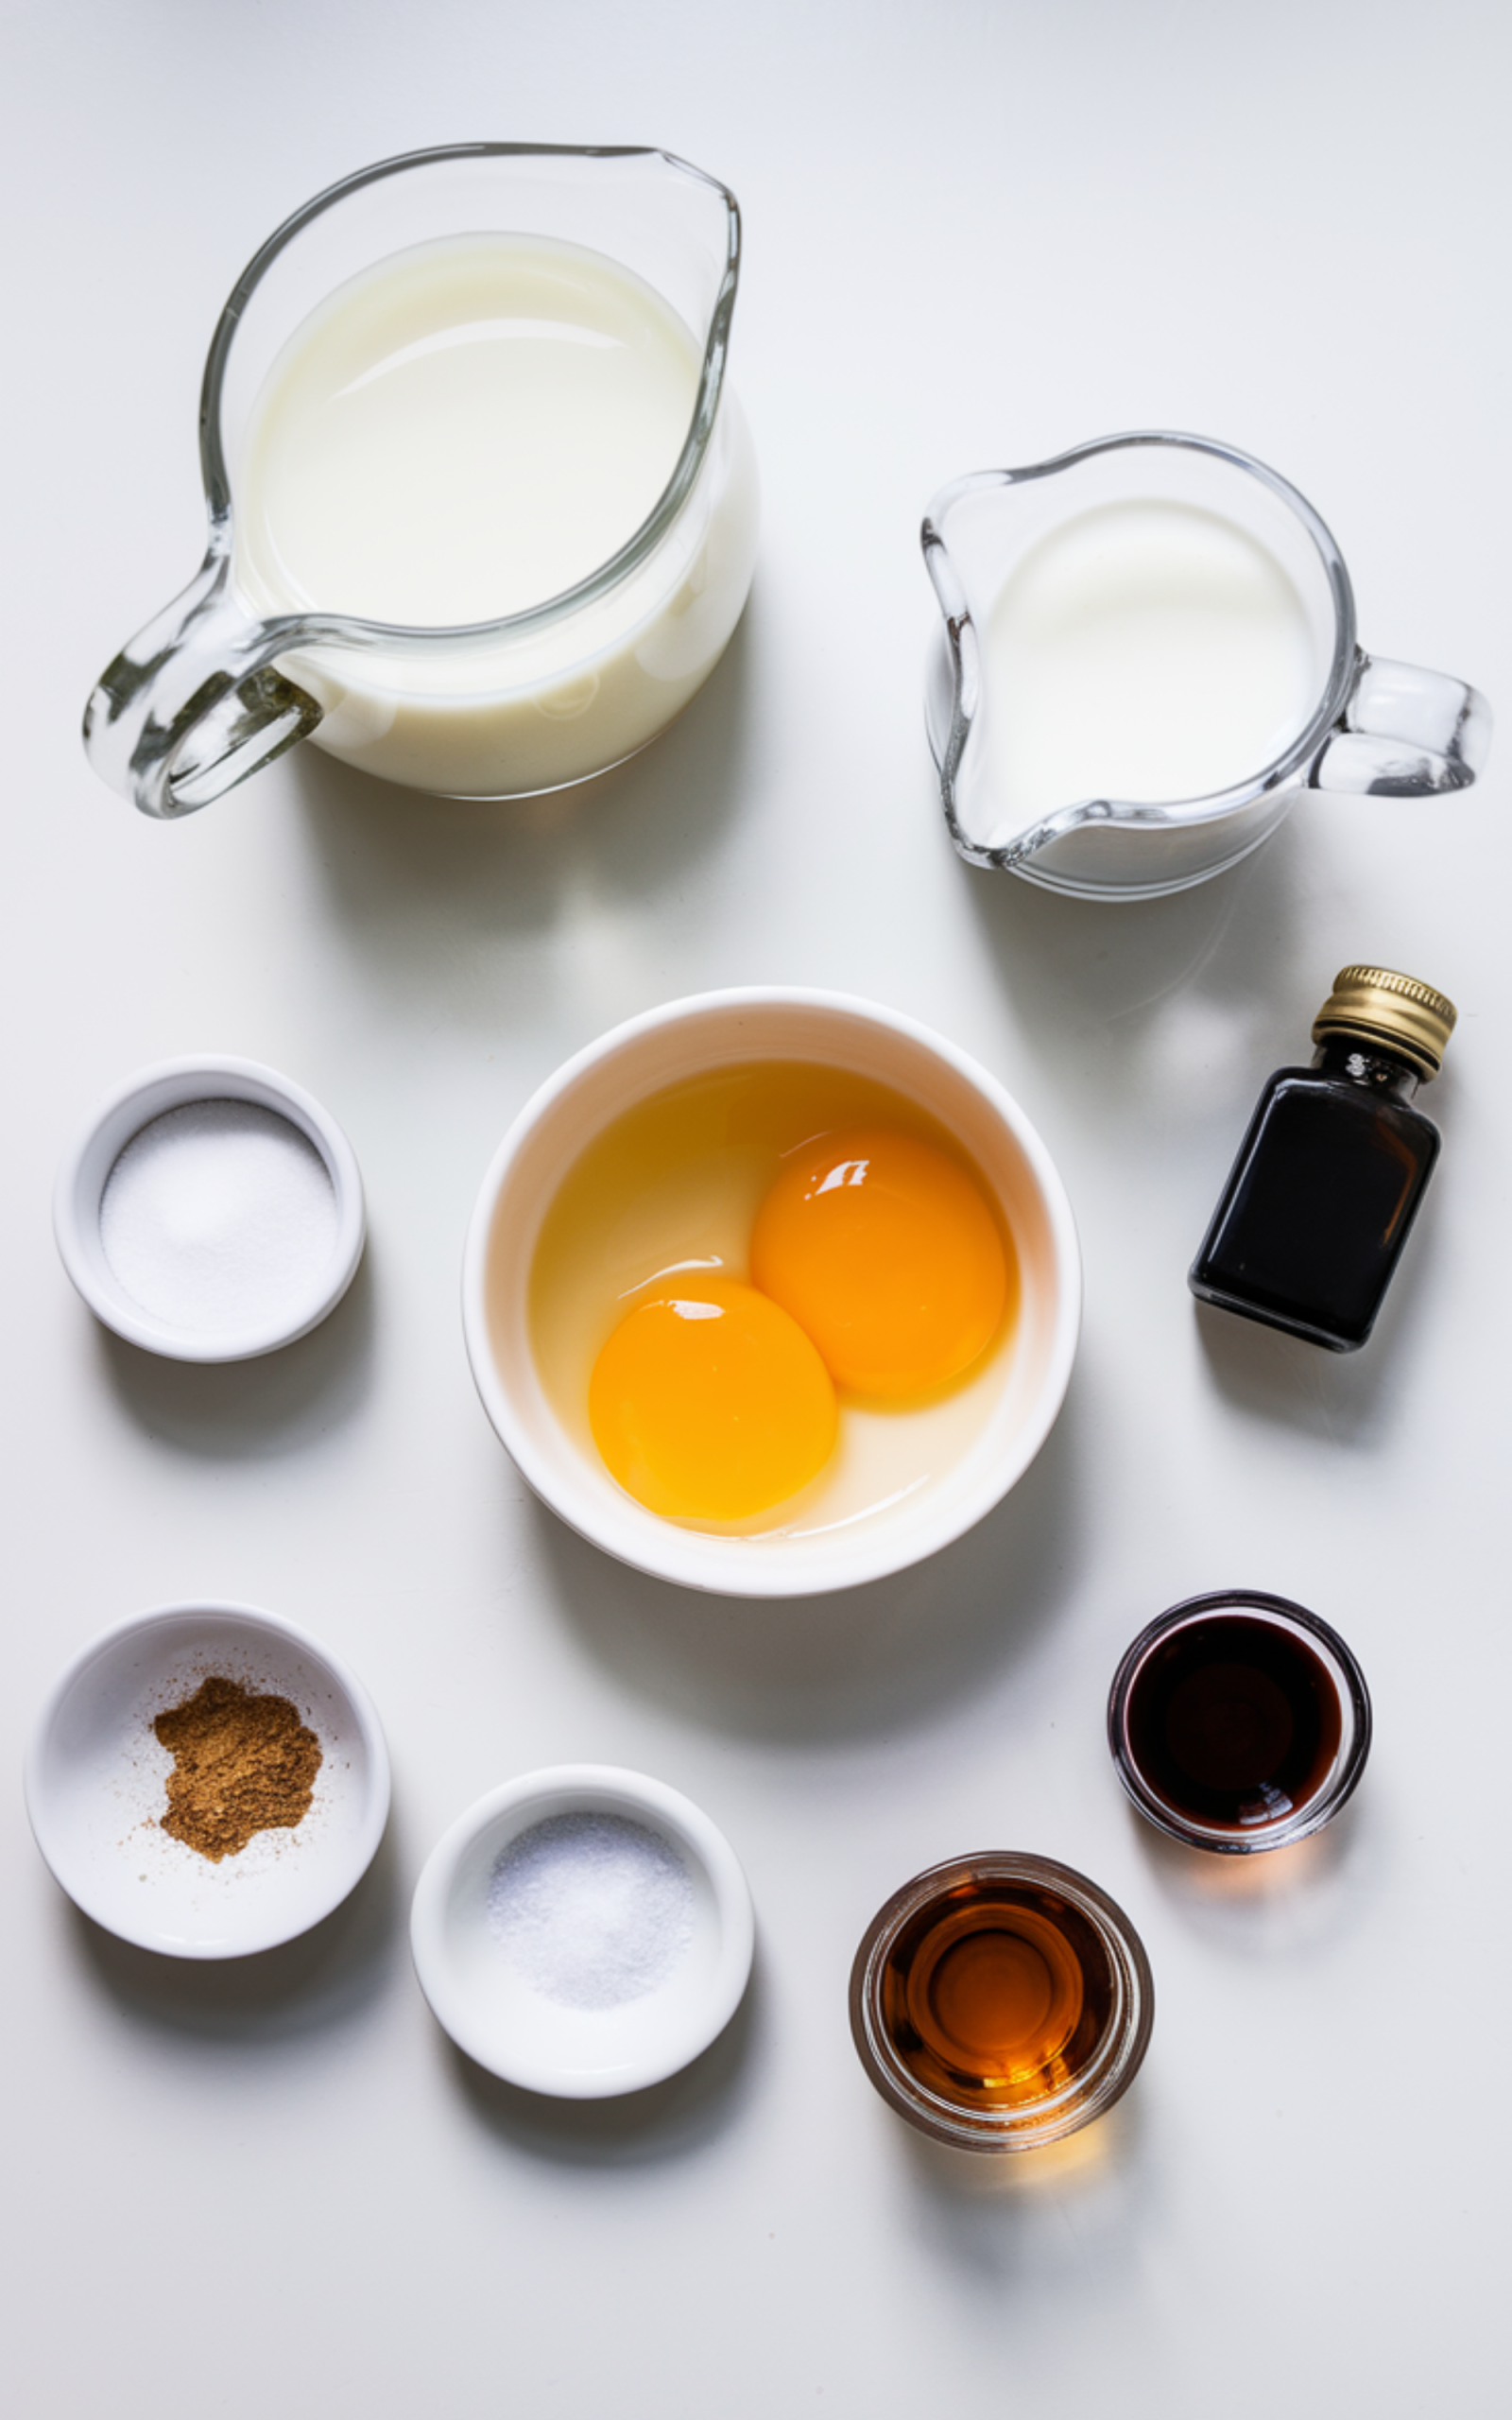
Ingredients
- Whole milk
- Heavy cream
- Egg yolks
- Granulated sugar
- Pure vanilla extract
- Ground nutmeg
- Ground cinnamon
- Salt
- Bourbon
- Dark rum
Ingredient Notes
- Whole Milk: Forms the base of homemade eggnog, providing body without making it overly heavy; 2% milk can be substituted for a lighter version.
- Heavy Cream: Adds richness and the signature creamy texture associated with classic homemade eggnog; substitute half-and-half for a slightly lighter consistency.
- Egg Yolks: Essential for thickness, color, and traditional flavor; use fresh, high-quality eggs for best results and safe cooking.
- Granulated Sugar: Sweetens and balances the dairy and spice; fine sugar dissolves more easily.
- Pure Vanilla Extract: Enhances the custard-like flavor; avoid imitation vanilla for the most authentic taste.
- Ground Nutmeg: Classic spice that defines homemade eggnog; freshly grated nutmeg delivers superior aroma.
- Ground Cinnamon: Adds warmth and depth; optional but recommended for complexity.
- Salt: A small pinch sharpens and balances sweetness.
- Bourbon: Traditional spirit that complements the creamy base with caramel notes; optional for a family-friendly version.
- Dark Rum: Adds warmth and depth; can be used alone or combined with bourbon for layered flavor.
How to Make Homemade Eggnog?
Step 1:
In a medium saucepan over medium heat, combine the whole milk and heavy cream. Warm the mixture gently until it begins to steam, but do not allow it to boil. Heating too quickly can cause scorching or separation, so keep the heat moderate and stir occasionally to prevent sticking at the bottom.
Step 2:
In a separate mixing bowl, whisk the egg yolks and granulated sugar together until the mixture becomes pale and slightly thickened. This step is important because properly whisked yolks help create a smooth, creamy homemade eggnog without lumps or a grainy texture.
Step 3:
Slowly temper the eggs by adding a small ladle of the warm milk mixture into the yolk mixture while whisking constantly. Repeat with another ladle, then gradually pour the tempered egg mixture back into the saucepan. This careful process prevents the eggs from scrambling and ensures your homemade eggnog stays silky.
Step 4:
Cook the mixture over medium-low heat, stirring constantly with a wooden spoon or heatproof spatula. Continue cooking until the mixture thickens slightly and coats the back of the spoon. If you have a thermometer, aim for about 160°F to ensure the eggs are safely cooked without curdling.
Step 5:
Remove the saucepan from the heat and immediately stir in the vanilla extract, ground nutmeg, ground cinnamon, and salt. Mixing the spices while the custard is warm allows their flavors to bloom and fully infuse the homemade eggnog.
Step 6:
Strain the mixture through a fine mesh sieve into a large bowl or pitcher to remove any tiny bits of cooked egg. This extra step guarantees a professional, smooth texture and is especially helpful if the heat was slightly too high during cooking.
Step 7:
If making an adult version, stir in bourbon, dark rum, or a combination of both once the mixture has cooled slightly. Adding alcohol while warm but not hot preserves the flavor and prevents evaporation of delicate notes.
Step 8:
Cover and refrigerate the homemade eggnog for at least 4 hours, preferably overnight. Chilling allows the flavors to meld and the texture to thicken beautifully. Before serving, stir well and garnish with an extra sprinkle of freshly grated nutmeg.
Kitchen Equipment Needed
• Medium saucepan
• Mixing bowls
• Whisk
• Wooden spoon or heatproof spatula
• Fine mesh sieve
• Measuring cups
• Measuring spoons
• Thermometer (optional but recommended)
• Pitcher or airtight container
Pro Tips for Best Results
After preparing homemade eggnog many times for family gatherings and holiday parties, I have learned that patience makes all the difference. Heat slowly, stir constantly, and never rush the tempering process. Always strain the mixture for a velvety finish. Freshly grated nutmeg elevates the flavor dramatically. Allow the homemade eggnog to chill overnight whenever possible, as the taste deepens and the texture becomes noticeably richer and smoother.
Storage, Freezing, and Reheating
Homemade eggnog should be stored in an airtight container in the refrigerator for up to 3 days. Because it contains cooked eggs and dairy, keeping it properly chilled is essential for food safety. Stir before serving, as slight separation is natural. Freezing is not recommended, as the texture can become grainy once thawed. Reheating is generally unnecessary, but if you prefer it warm, gently heat it over low heat without boiling to preserve the smooth consistency.
Recipe Variations and Substitutions
Homemade eggnog can easily be adapted to suit different preferences. For a non-alcoholic version, simply omit the spirits. For a dairy-free option, use full-fat coconut milk and unsweetened almond milk, though the flavor will change slightly. Maple syrup can replace granulated sugar for a deeper sweetness. Spiced rum or brandy can be substituted for bourbon. Some US households enjoy adding whipped egg whites folded in at the end for a lighter, frothy texture, though this step requires extra care and proper egg handling.
FAQ
Can homemade eggnog be made ahead of time?
Yes, homemade eggnog actually improves when made ahead. Preparing it 24 hours in advance allows the spices and vanilla to fully develop. Store it refrigerated and stir before serving.
Is it safe to drink homemade eggnog with eggs?
When the custard base is cooked to 160°F, the eggs are considered safe to consume. Using fresh, high-quality eggs and proper refrigeration further ensures safety.
Can I make homemade eggnog without alcohol?
Absolutely. Simply omit the bourbon and rum for a family-friendly homemade eggnog that is just as creamy and flavorful.
Why is my homemade eggnog too thick?
Overcooking can cause the custard to thicken excessively. You can thin it by whisking in a small amount of cold milk or cream until the desired consistency is reached.
Why did my eggnog curdle?
Curdling usually happens when the heat is too high or the eggs were not properly tempered. Cooking gently and stirring constantly prevents this issue.
How long does homemade eggnog last in the refrigerator?
Properly stored homemade eggnog lasts about 3 days in the refrigerator. Always keep it in an airtight container and discard if it develops an off smell or taste.
Can I serve homemade eggnog warm?
Yes, homemade eggnog can be served warm or chilled. If warming, heat gently over low heat and avoid boiling to maintain its creamy texture.
homemade eggnog
Course: DrinksCuisine: AmericanDifficulty: EasyServings
6
servingsPrep time
15
minutesCooking time
15
minutesCalories
350
kcalTotal time
30
minutesThis homemade eggnog is rich, creamy, and perfectly spiced with nutmeg and cinnamon. Made with gently cooked eggs and dairy, it delivers a smooth custard texture and classic holiday flavor. Serve chilled or warm for a festive seasonal drink.
Ingredients
Whole milk
Heavy cream
Egg yolks
Granulated sugar
Pure vanilla extract
Ground nutmeg
Ground cinnamon
Salt
Bourbon
Dark rum
Directions
- In a medium saucepan over medium heat, combine the whole milk and heavy cream. Warm the mixture gently until it begins to steam, but do not allow it to boil. Heating too quickly can cause scorching or separation, so keep the heat moderate and stir occasionally to prevent sticking at the bottom.
- In a separate mixing bowl, whisk the egg yolks and granulated sugar together until the mixture becomes pale and slightly thickened. This step is important because properly whisked yolks help create a smooth, creamy homemade eggnog without lumps or a grainy texture.
- Slowly temper the eggs by adding a small ladle of the warm milk mixture into the yolk mixture while whisking constantly. Repeat with another ladle, then gradually pour the tempered egg mixture back into the saucepan. This careful process prevents the eggs from scrambling and ensures your homemade eggnog stays silky.
- Cook the mixture over medium-low heat, stirring constantly with a wooden spoon or heatproof spatula. Continue cooking until the mixture thickens slightly and coats the back of the spoon. If you have a thermometer, aim for about 160°F to ensure the eggs are safely cooked without curdling.
- Remove the saucepan from the heat and immediately stir in the vanilla extract, ground nutmeg, ground cinnamon, and salt. Mixing the spices while the custard is warm allows their flavors to bloom and fully infuse the homemade eggnog.
- Strain the mixture through a fine mesh sieve into a large bowl or pitcher to remove any tiny bits of cooked egg. This extra step guarantees a professional, smooth texture and is especially helpful if the heat was slightly too high during cooking.
- If making an adult version, stir in bourbon, dark rum, or a combination of both once the mixture has cooled slightly. Adding alcohol while warm but not hot preserves the flavor and prevents evaporation of delicate notes.
- Cover and refrigerate the homemade eggnog for at least 4 hours, preferably overnight. Chilling allows the flavors to meld and the texture to thicken beautifully. Before serving, stir well and garnish with an extra sprinkle of freshly grated nutmeg.