Do you love easy, delicious recipes? Join the Food On Paper family and never miss a recipe
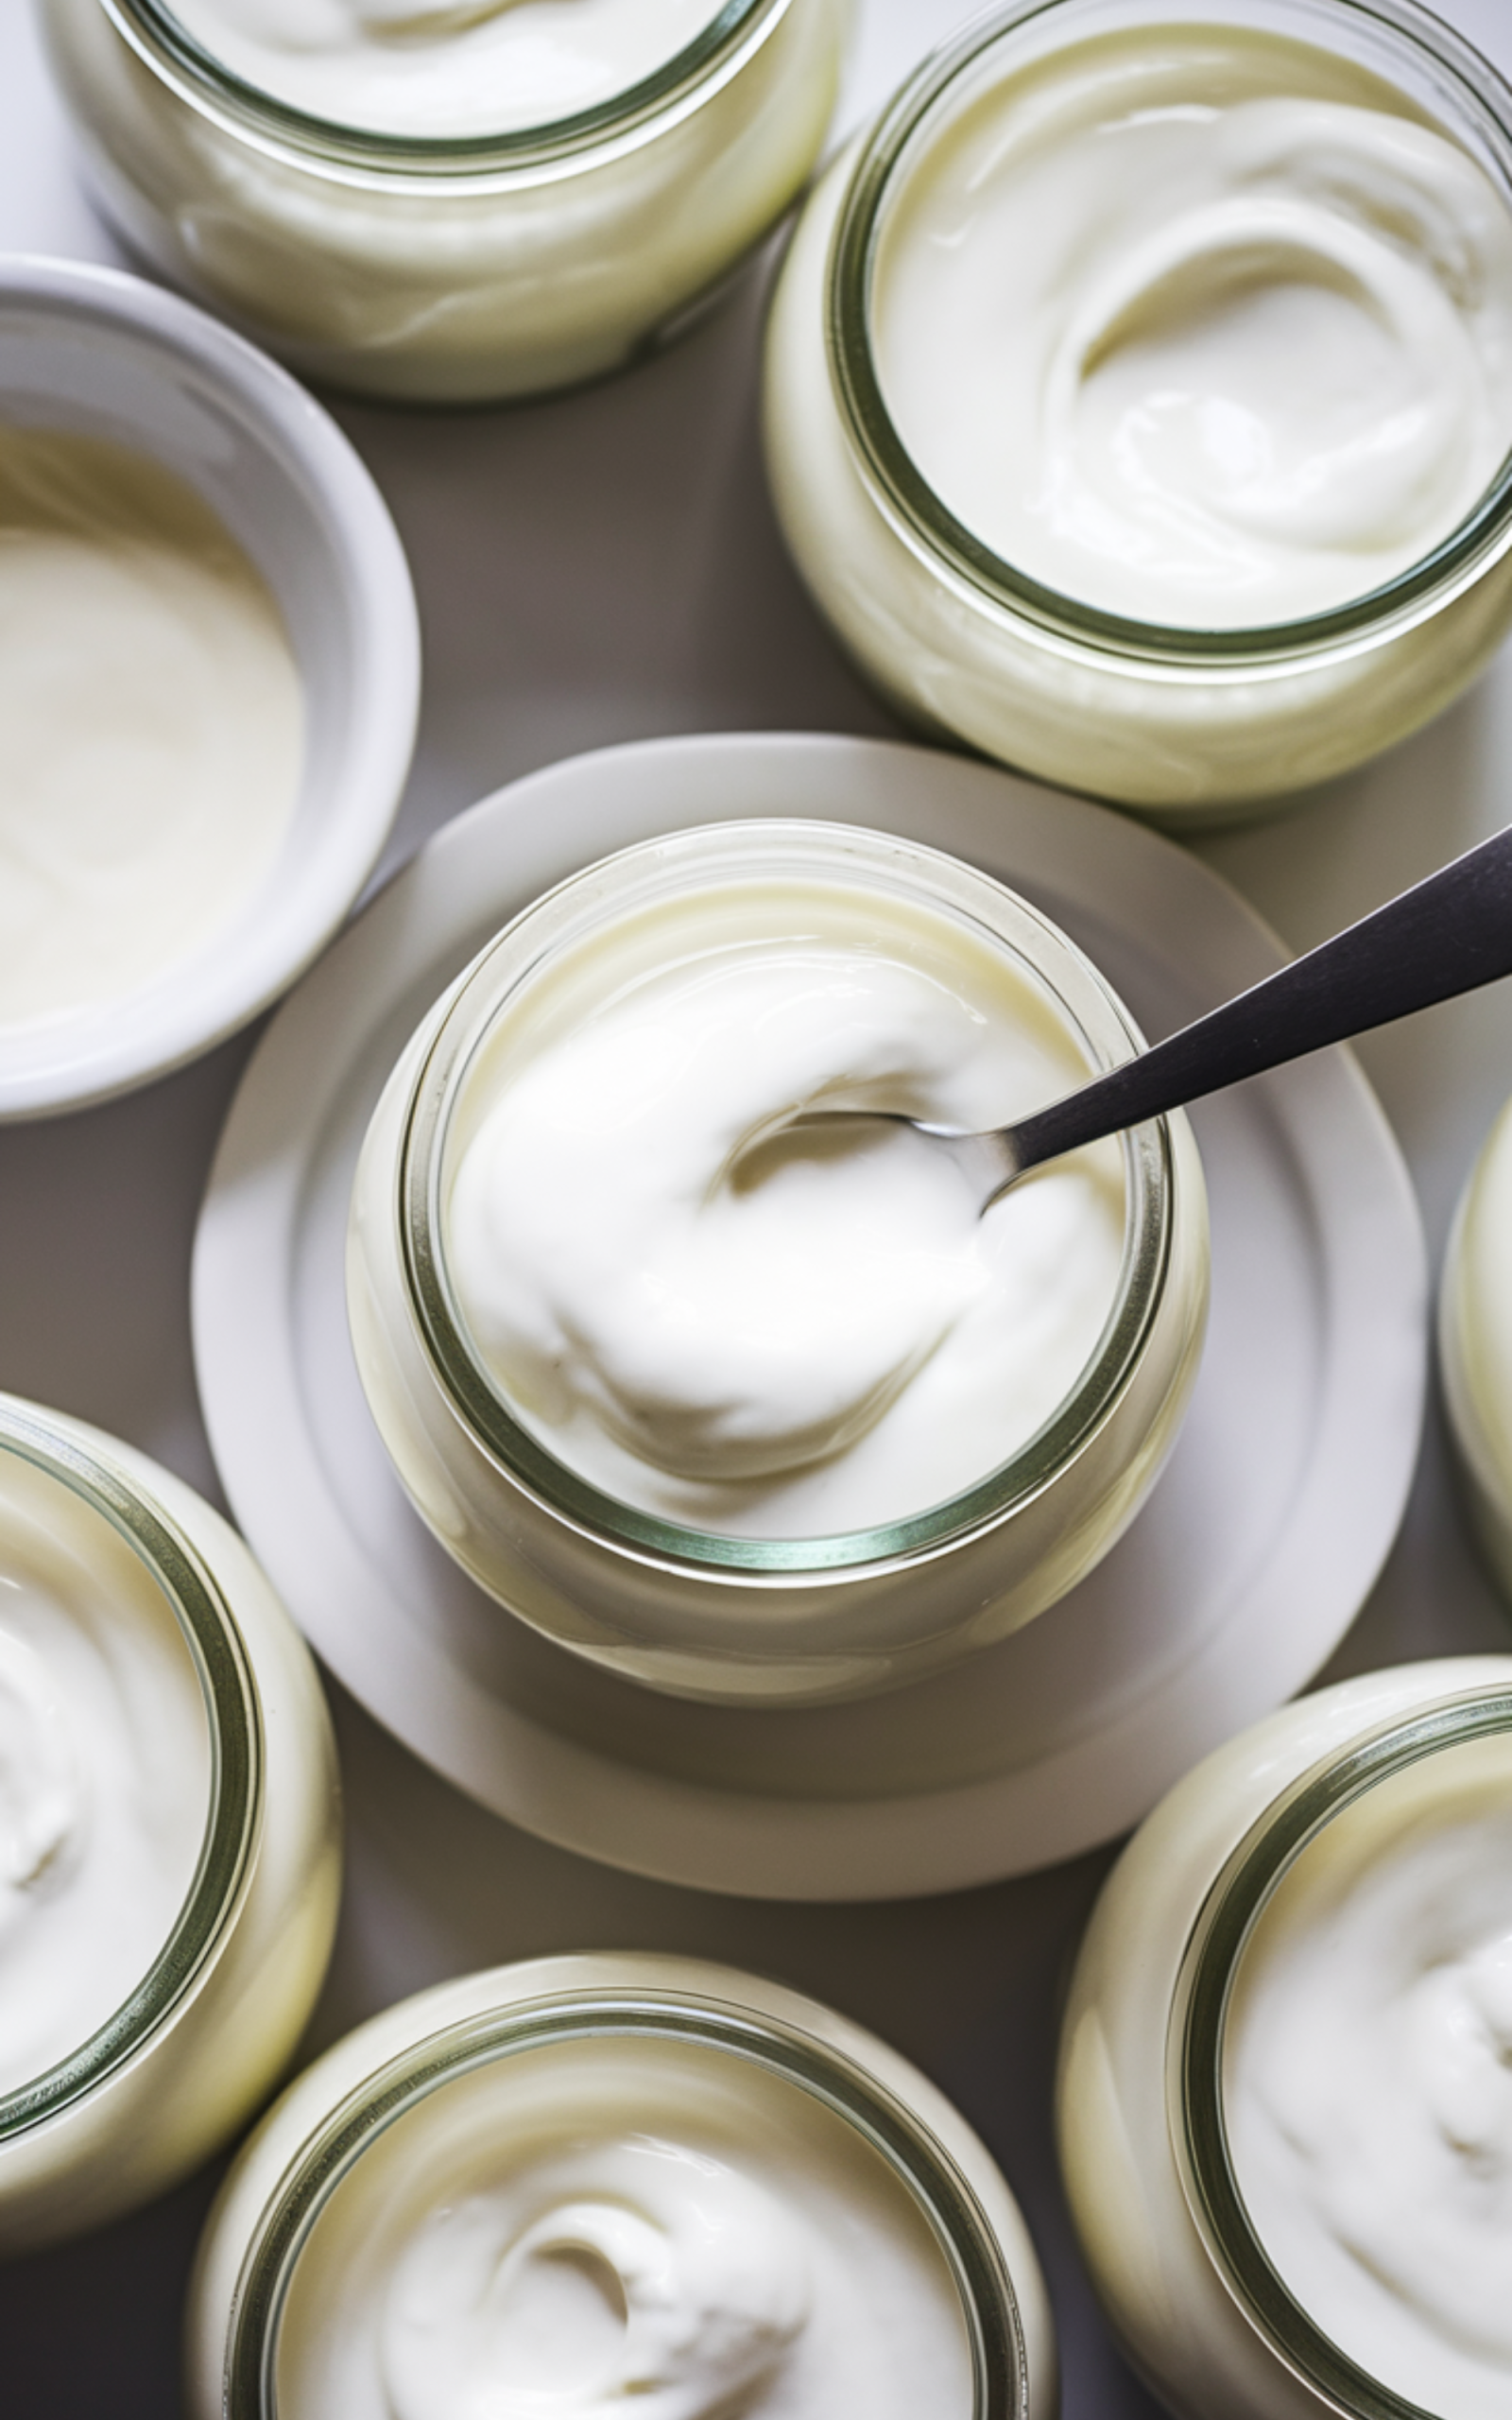
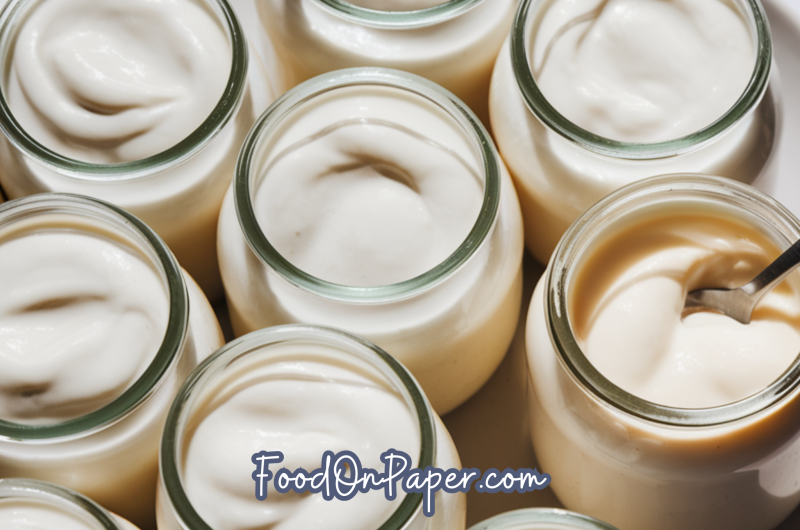
instant pot yogurt
I started making Instant Pot yogurt on busy school mornings, and now it’s a weekly staple in my kitchen. I love serving Instant Pot yogurt with homemade granola, fresh berries, and honey, or even graham cracker toffee bars for a cozy snack. It’s my favorite easy breakfast treat that feels wholesome and comforting every single time.
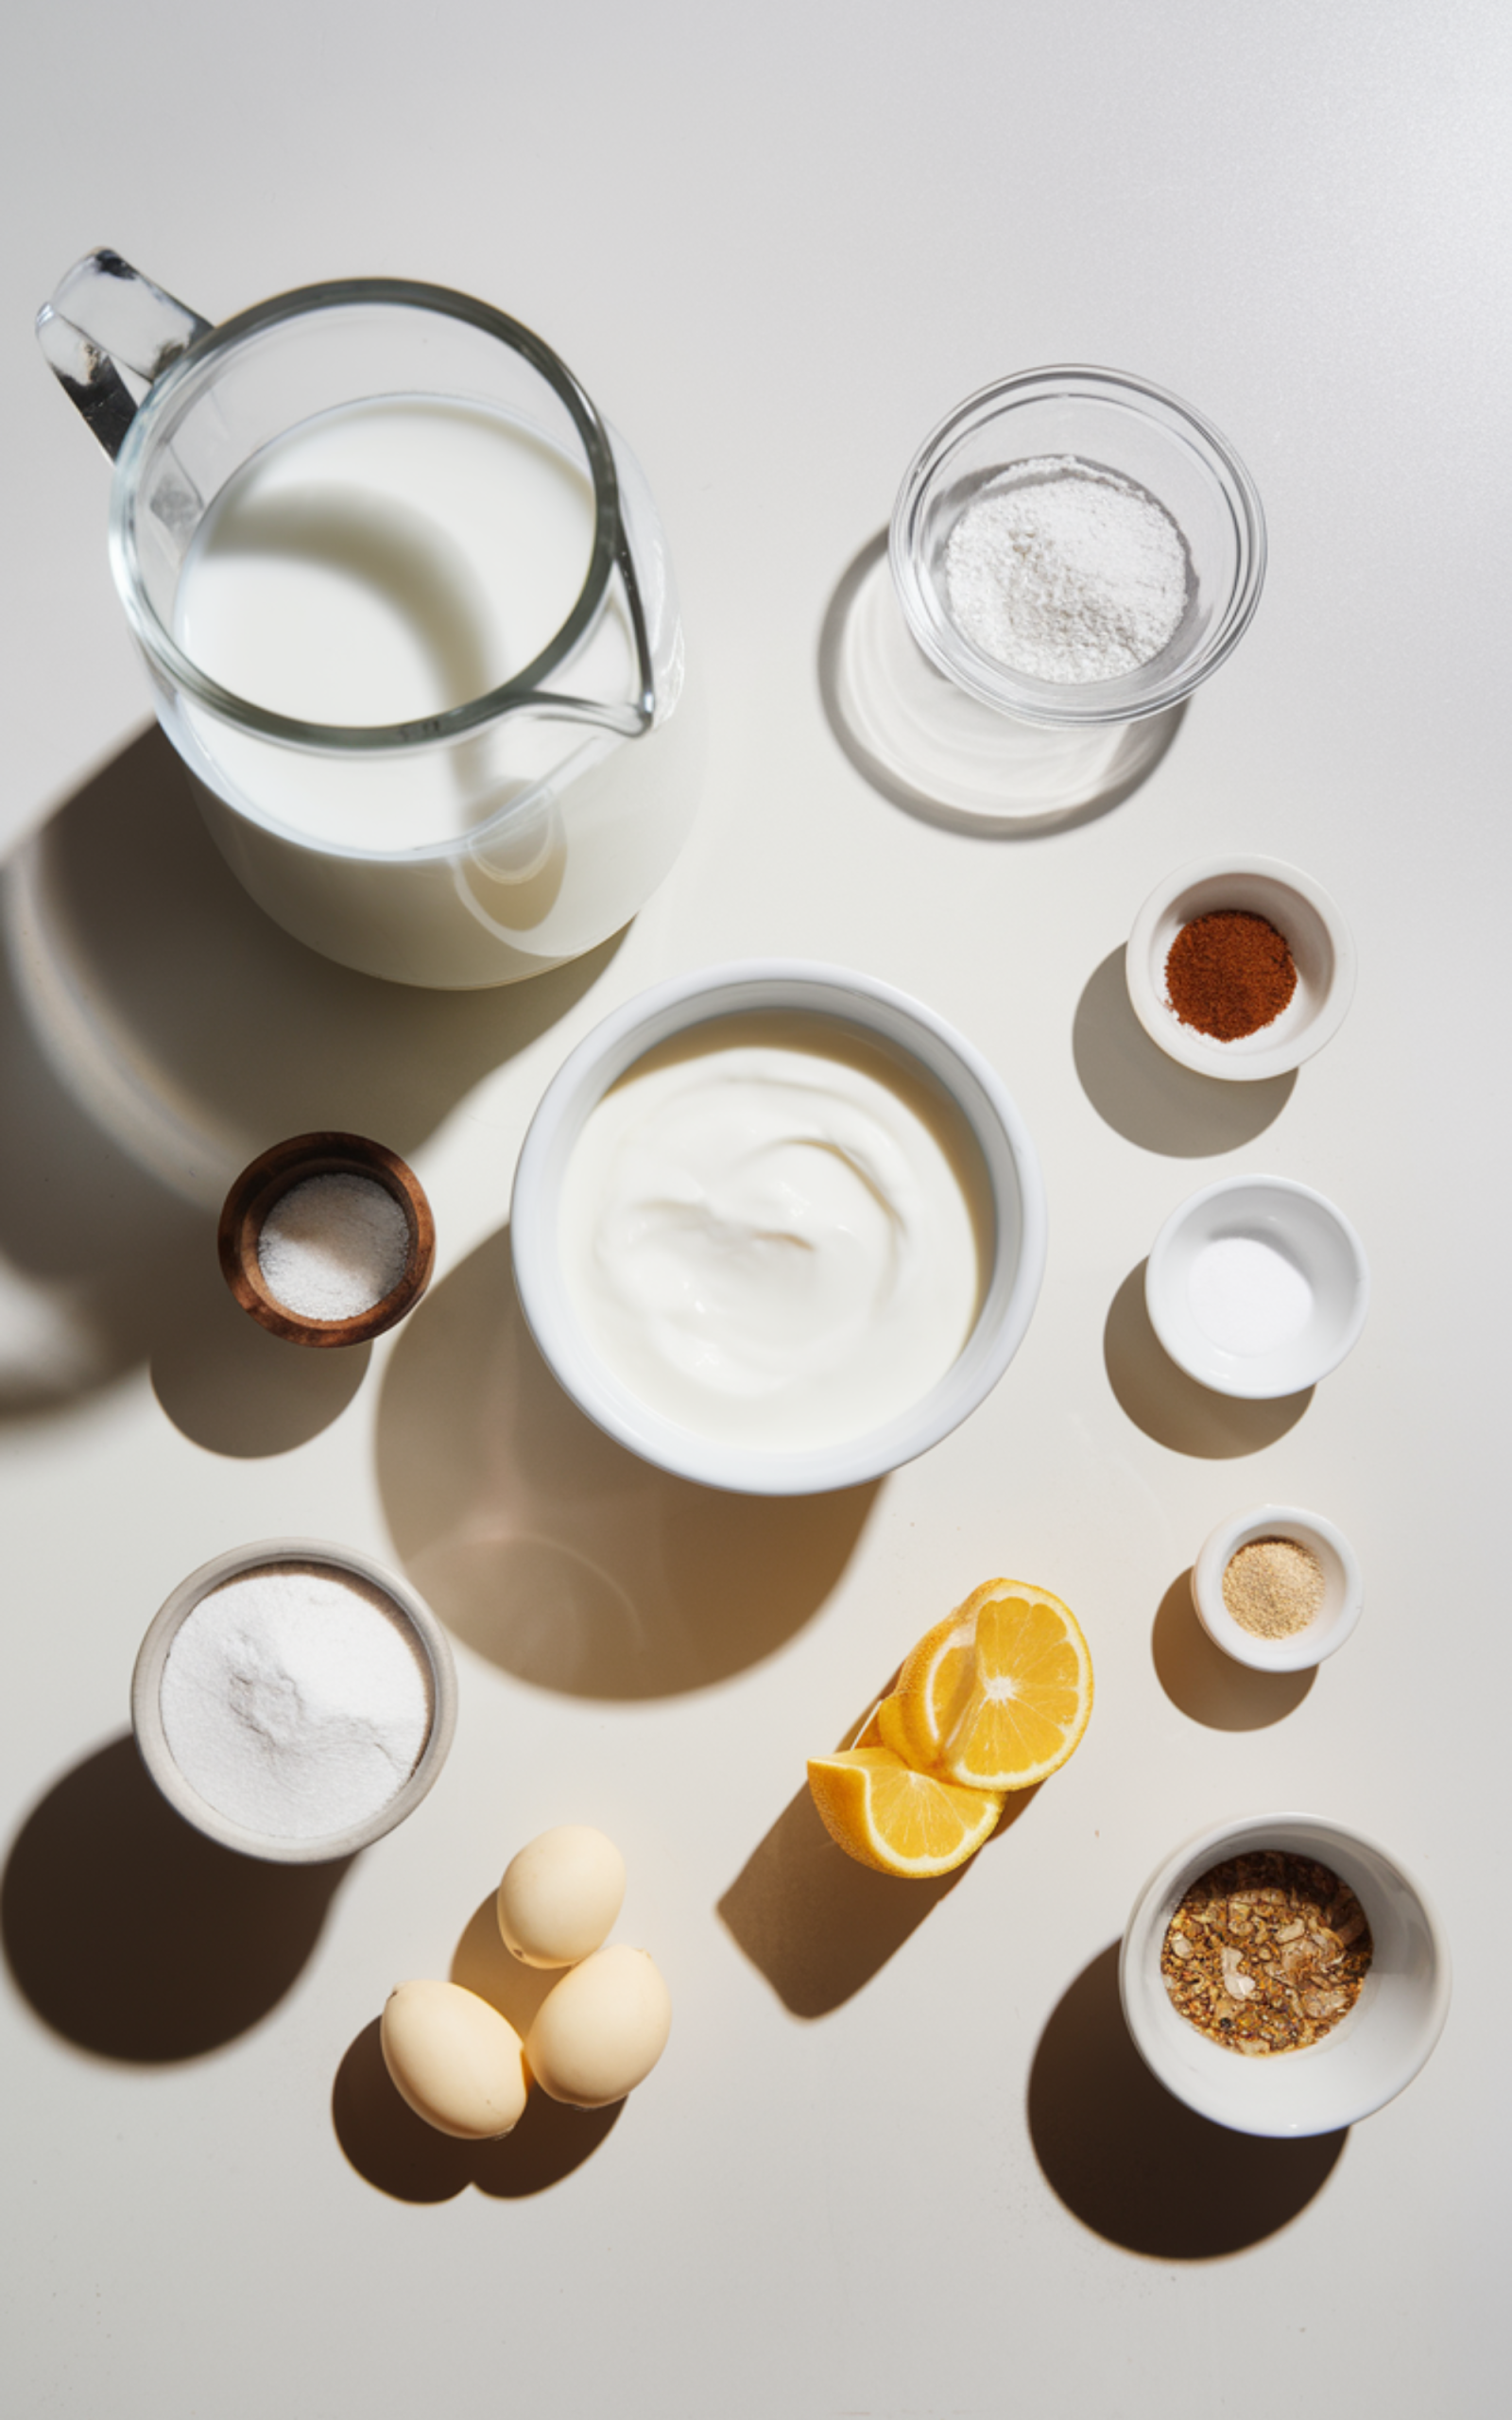
Ingredients
Whole milk
Plain yogurt with live active cultures
Ingredient Notes
- Whole Milk: Whole milk produces the creamiest and thickest Instant Pot yogurt. You may substitute 2% milk for a lighter texture, but avoid skim milk unless you plan to add milk powder for thickness. Ultra-pasteurized milk can work, but the results are often thinner. Fresh, high-quality milk delivers the best flavor and consistency.
- Plain Yogurt with Live Active Cultures: This is your starter. It must contain live active cultures to properly ferment the milk. Choose plain, unsweetened yogurt with no additives. Greek yogurt works well as long as it lists active cultures. Always use fresh starter yogurt for the most reliable Instant Pot yogurt results.
How to Make Instant Pot Yogurt?
Step 1: Sanitize the Inner Pot
Before making Instant Pot yogurt, ensure the inner pot, lid, whisk, and any utensils are thoroughly cleaned. Residue from previous cooking can interfere with fermentation. For best food safety practices, rinse the inner pot with boiling water and let it air dry. This extra step reduces unwanted bacteria and ensures consistent results.
Step 2: Heat the Milk
Pour the whole milk into the Instant Pot insert. Secure the lid and press the “Yogurt” button until the display reads “Boil.” The Instant Pot will heat the milk to approximately 180°F. This process typically takes 20–40 minutes, depending on volume. Heating denatures the milk proteins, which helps create thick, creamy Instant Pot yogurt. Once the cycle completes, confirm the temperature with a thermometer for accuracy.
Step 3: Cool the Milk
Remove the lid and allow the milk to cool to 110°F–115°F. You can speed this process by placing the inner pot in a sink filled with cold water. Stir occasionally to prevent a skin from forming. Cooling is critical. If the milk is too hot, it will kill the live cultures. If it is too cool, fermentation may not start properly.
Step 4: Temper the Yogurt Starter
Scoop a small amount of the cooled milk into a bowl with the plain yogurt starter. Whisk until completely smooth. This prevents clumping and ensures even distribution. Slowly pour the mixture back into the inner pot and gently whisk until fully incorporated. Proper blending ensures your Instant Pot yogurt cultures spread evenly throughout the milk.
Step 5: Incubate the Yogurt
Place the inner pot back into the Instant Pot. Close the lid. It does not need to be sealed. Press the “Yogurt” function and adjust the time to 8–12 hours. Eight hours yield mild yogurt. Twelve hours creates tangier Instant Pot yogurt. Avoid moving or disturbing the pot during incubation. Stable temperature ensures proper fermentation and smooth texture.
Step 6: Check for Doneness
When incubation is complete, the yogurt should look set with slight separation from the sides. It may appear slightly loose, but it will thicken in the refrigerator. If it looks very thin, you may incubate for an additional 1–2 hours. Properly fermented Instant Pot yogurt should smell fresh and slightly tangy, never sour or yeasty.
Step 7: Chill to Set
Transfer the inner pot to the refrigerator and chill for at least 4 hours. This step is essential for thickening. Do not stir before chilling. Cooling allows the proteins to firm up and develop the classic yogurt texture.
Step 8: Stir and Strain (Optional)
After chilling, stir the yogurt gently. For Greek-style Instant Pot yogurt, strain it through cheesecloth or a fine mesh strainer for 1–3 hours to remove whey. The longer you strain, the thicker it becomes. Save the whey for smoothies or baking if desired.
Step 9: Store Properly
Transfer the finished Instant Pot yogurt into airtight containers. Reserve a small portion to use as a starter for your next batch. Homemade yogurt typically keeps well in the refrigerator for up to 2 weeks when stored properly.
Kitchen Equipment Needed
- Instant Pot with yogurt function
- Instant-read thermometer
- Whisk
- Measuring cup
- Fine mesh strainer or cheesecloth (optional)
- Airtight storage containers
Pro Tips for Best Results
Consistent temperature control is the most important factor when making Instant Pot yogurt. Always verify temperatures rather than relying solely on the display. Use fresh starter yogurt every few batches to maintain strong cultures. Avoid stirring during incubation, as movement can disrupt the setting process. For thicker Instant Pot yogurt without straining, add 2–3 tablespoons of dry milk powder before heating.
Storage, Freezing, and Reheating
Store Instant Pot yogurt in airtight containers in the refrigerator for up to 14 days. Always use clean utensils to prevent contamination. While yogurt can technically be frozen for up to 2 months, freezing may slightly alter the texture and cause separation upon thawing.
Recipe Variations and Substitutions
You can easily customize Instant Pot yogurt to suit dietary needs. Use 2% milk for a lighter option, or lactose-free milk for those with sensitivities. For dairy-free alternatives, almond or soy milk may work if fortified with protein and used with a compatible starter culture, though results vary. Add vanilla extract or a drizzle of honey after fermentation for flavored yogurt.
FAQ
Can I use ultra-pasteurized milk for Instant Pot yogurt?
Yes, but the texture may be thinner. Ultra-pasteurized milk has already been heated at high temperatures, which can affect protein structure. For best results, use regular pasteurized whole milk.
How long should I incubate Instant Pot yogurt?
Eight hours produce mild yogurt. Ten to twelve hours yields tangier results. Personal preference determines the ideal fermentation time for your Instant Pot yogurt.
Why is my Instant Pot yogurt too thin?
Common causes include weak starter cultures, incorrect incubation temperature, or insufficient incubation time. Ensure your starter lists live active cultures and verify the milk is cooled to 110°F–115°F before adding it.
Can I make Greek yogurt in the Instant Pot?
Yes. After chilling, strain the Instant Pot yogurt using cheesecloth or a fine mesh strainer to remove whey. Strain longer for a thicker consistency.
Do I need to boil the milk first?
Yes. Heating the milk to 180°F helps denature proteins and creates thicker, creamier Instant Pot yogurt. Skipping this step often results in a runny texture.
Can I reuse homemade yogurt as a starter?
Absolutely. Reserve a small portion from your finished Instant Pot yogurt and use it within 7 days for the best culture strength. After several batches, refresh with a new store-bought starter.
Is Instant Pot yogurt healthier than store-bought?
Homemade Instant Pot yogurt contains no additives, stabilizers, or added sugars unless you choose to add them. It also allows full control over ingredients, making it a wholesome option for many families.
Instant Pot yogurt
Course: BreakfastCuisine: AmericanDifficulty: EasyServings
8
servingsPrep time
10
minutesCooking time
12
minutesCalories
120
kcalTotal time
22
minutesInstant Pot yogurt is a simple, creamy homemade yogurt made with just milk and live cultures. This method produces rich, customizable yogurt with perfect texture and tang, ideal for breakfast, snacks, or cooking applications.
Ingredients
Whole milk
Plain yogurt with live active cultures
Directions
- Before making Instant Pot yogurt, ensure the inner pot, lid, whisk, and any utensils are thoroughly cleaned. Residue from previous cooking can interfere with fermentation. For best food safety practices, rinse the inner pot with boiling water and let it air dry. This extra step reduces unwanted bacteria and ensures consistent results.
- Pour the whole milk into the Instant Pot insert. Secure the lid and press the “Yogurt” button until the display reads “Boil.” The Instant Pot will heat the milk to approximately 180°F. This process typically takes 20–40 minutes, depending on volume. Heating denatures the milk proteins, which helps create thick, creamy Instant Pot yogurt. Once the cycle completes, confirm the temperature with a thermometer for accuracy.
- Remove the lid and allow the milk to cool to 110°F–115°F. You can speed this process by placing the inner pot in a sink filled with cold water. Stir occasionally to prevent a skin from forming. Cooling is critical. If the milk is too hot, it will kill the live cultures. If it is too cool, fermentation may not start properly.
- Scoop a small amount of the cooled milk into a bowl with the plain yogurt starter. Whisk until completely smooth. This prevents clumping and ensures even distribution. Slowly pour the mixture back into the inner pot and gently whisk until fully incorporated. Proper blending ensures your Instant Pot yogurt cultures spread evenly throughout the milk.
- Place the inner pot back into the Instant Pot. Close the lid. It does not need to be sealed. Press the “Yogurt” function and adjust the time to 8–12 hours. Eight hours yield mild yogurt. Twelve hours creates tangier Instant Pot yogurt. Avoid moving or disturbing the pot during incubation. Stable temperature ensures proper fermentation and smooth texture.
- When incubation is complete, the yogurt should look set with slight separation from the sides. It may appear slightly loose, but it will thicken in the refrigerator. If it looks very thin, you may incubate for an additional 1–2 hours. Properly fermented Instant Pot yogurt should smell fresh and slightly tangy, never sour or yeasty.
- Transfer the inner pot to the refrigerator and chill for at least 4 hours. This step is essential for thickening. Do not stir before chilling. Cooling allows the proteins to firm up and develop the classic yogurt texture.
- After chilling, stir the yogurt gently. For Greek-style Instant Pot yogurt, strain it through cheesecloth or a fine mesh strainer for 1–3 hours to remove whey. The longer you strain, the thicker it becomes. Save the whey for smoothies or baking if desired.
- Transfer the finished Instant Pot yogurt into airtight containers. Reserve a small portion to use as a starter for your next batch. Homemade yogurt typically keeps well in the refrigerator for up to 2 weeks when stored properly.