Do you love easy, delicious recipes? Join the Food On Paper family and never miss a recipe
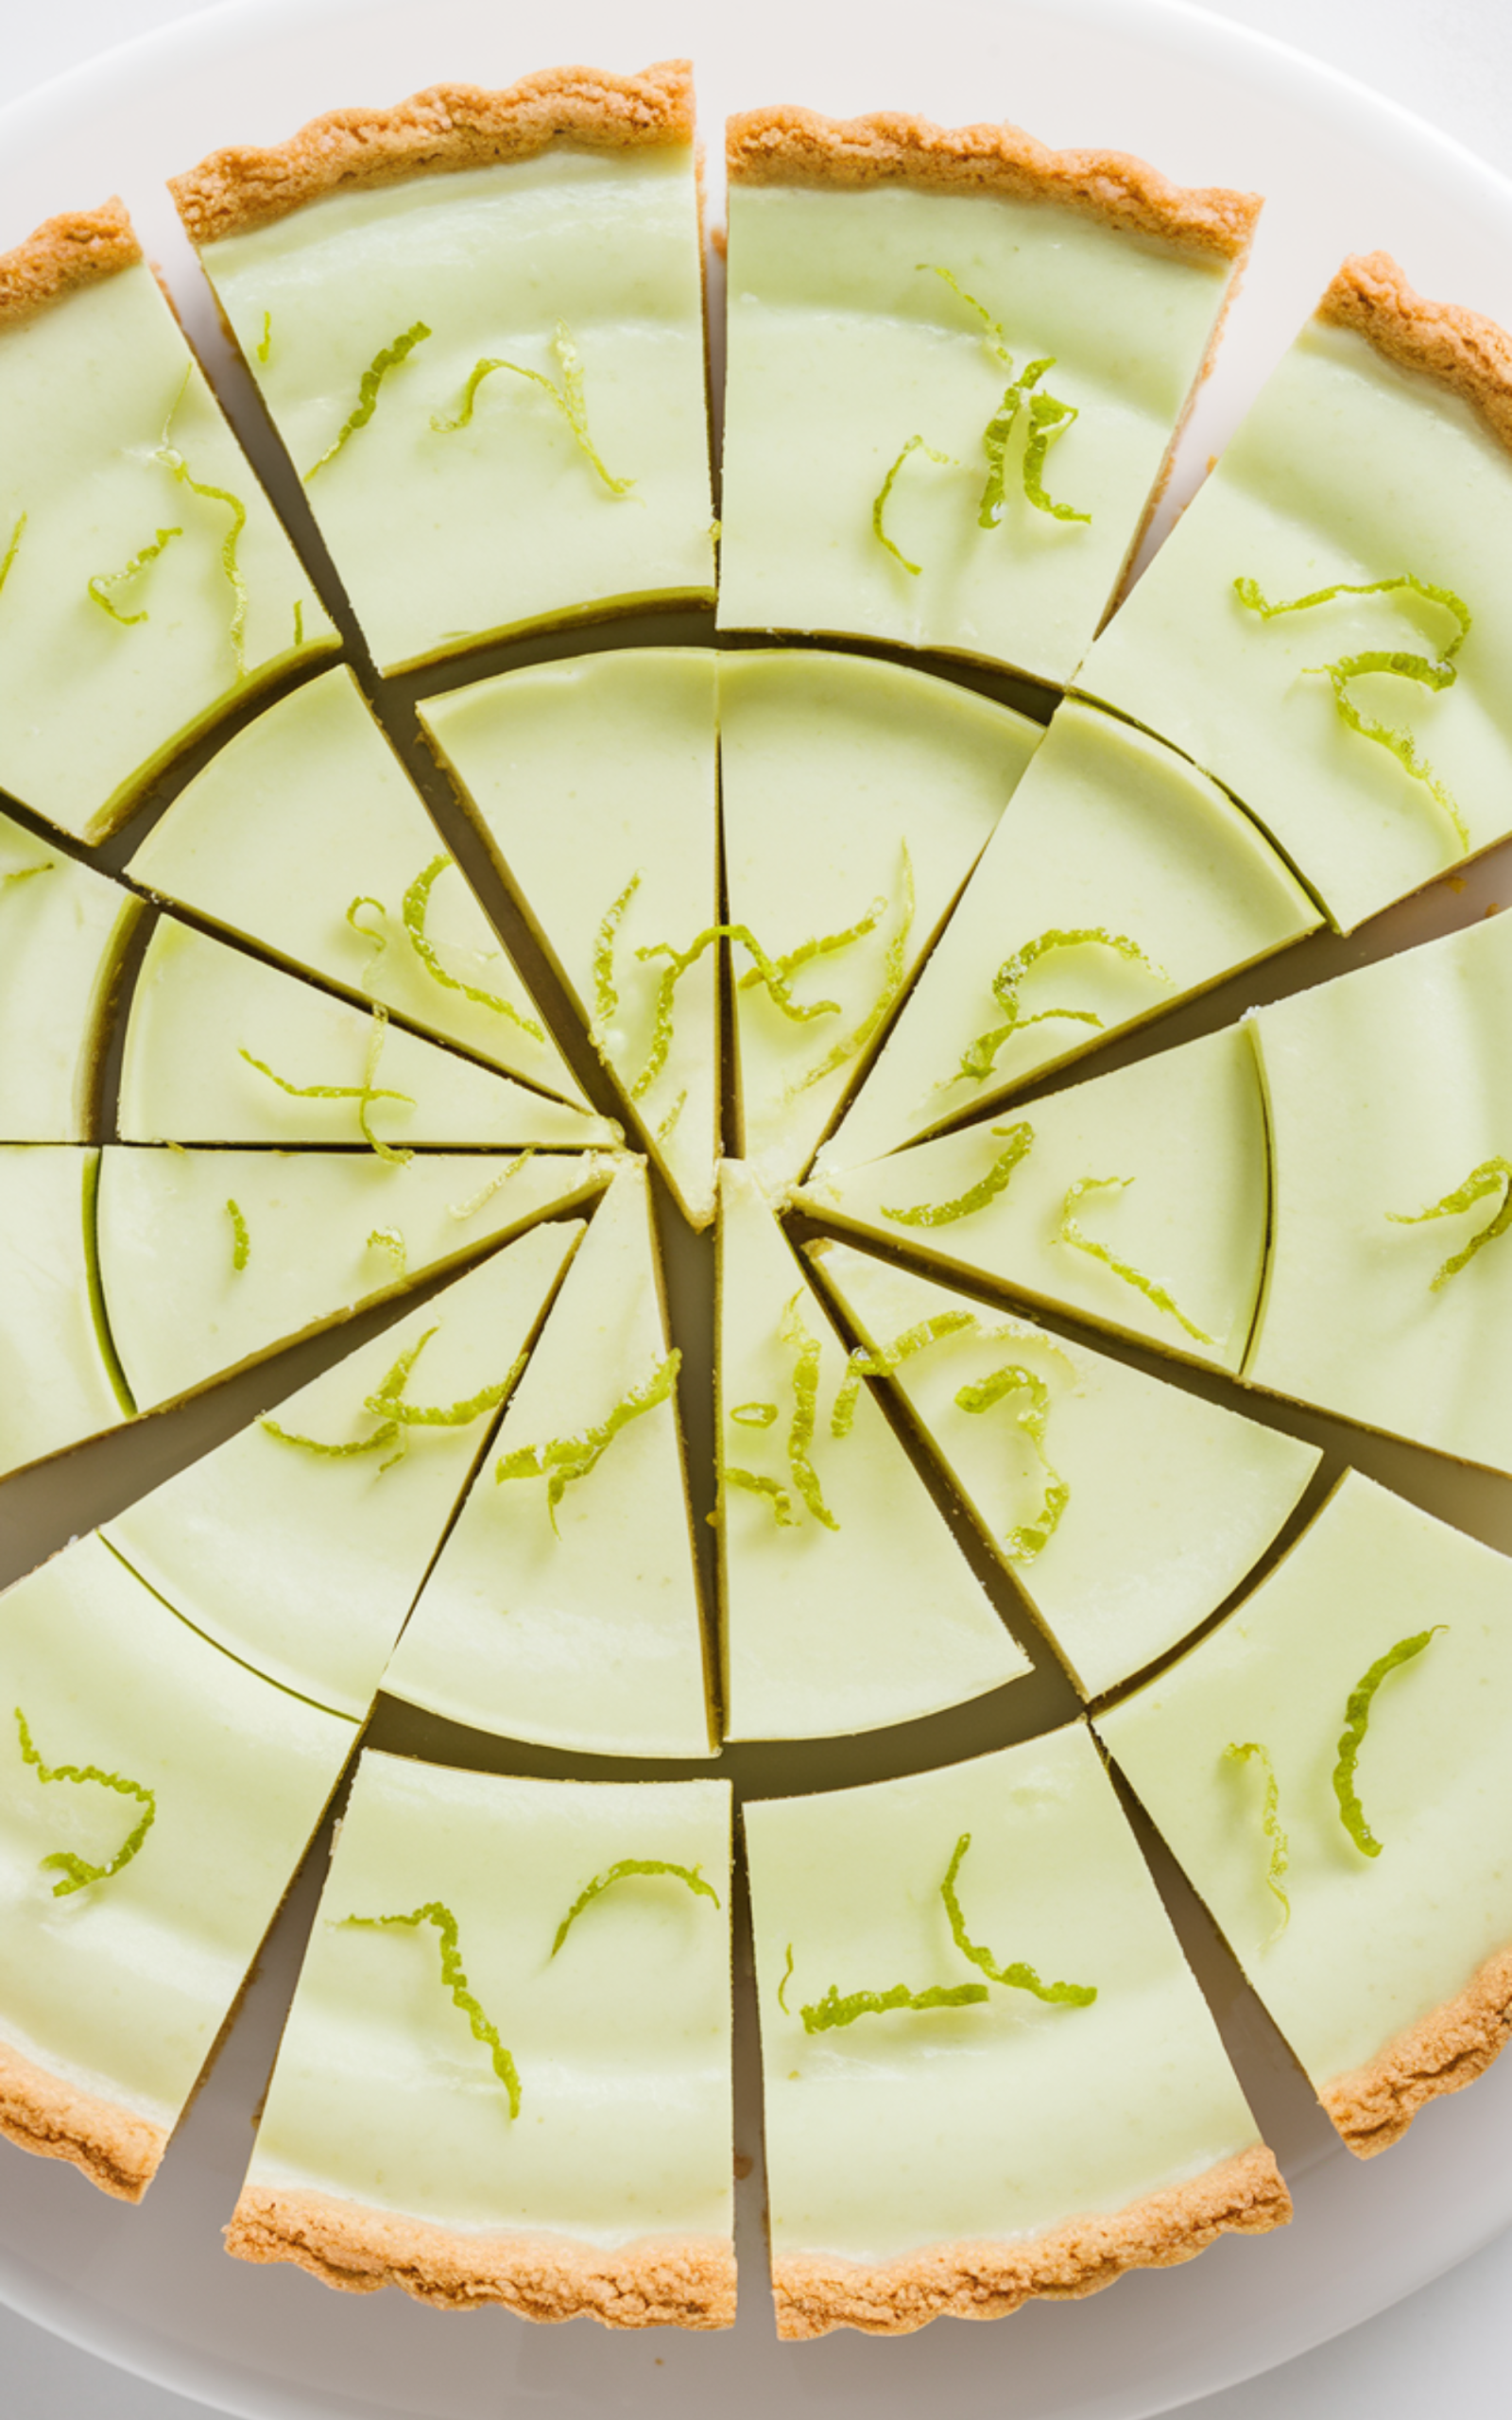
key lime pie bars
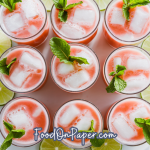
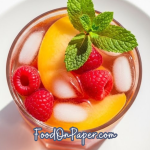
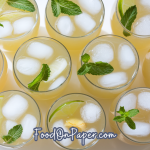
I’ve made Key Lime Pie Bars more times than I can count, especially when I need a bright, easy dessert for family dinners. My kids love sneaking chilled Key Lime Pie Bars after school, and I’ve served them with Vanilla Cream Cold Brew, Fresh Berry Fruit Salad, and Coconut Whipped Cream for the perfect cosy snack spread.
Ingredients
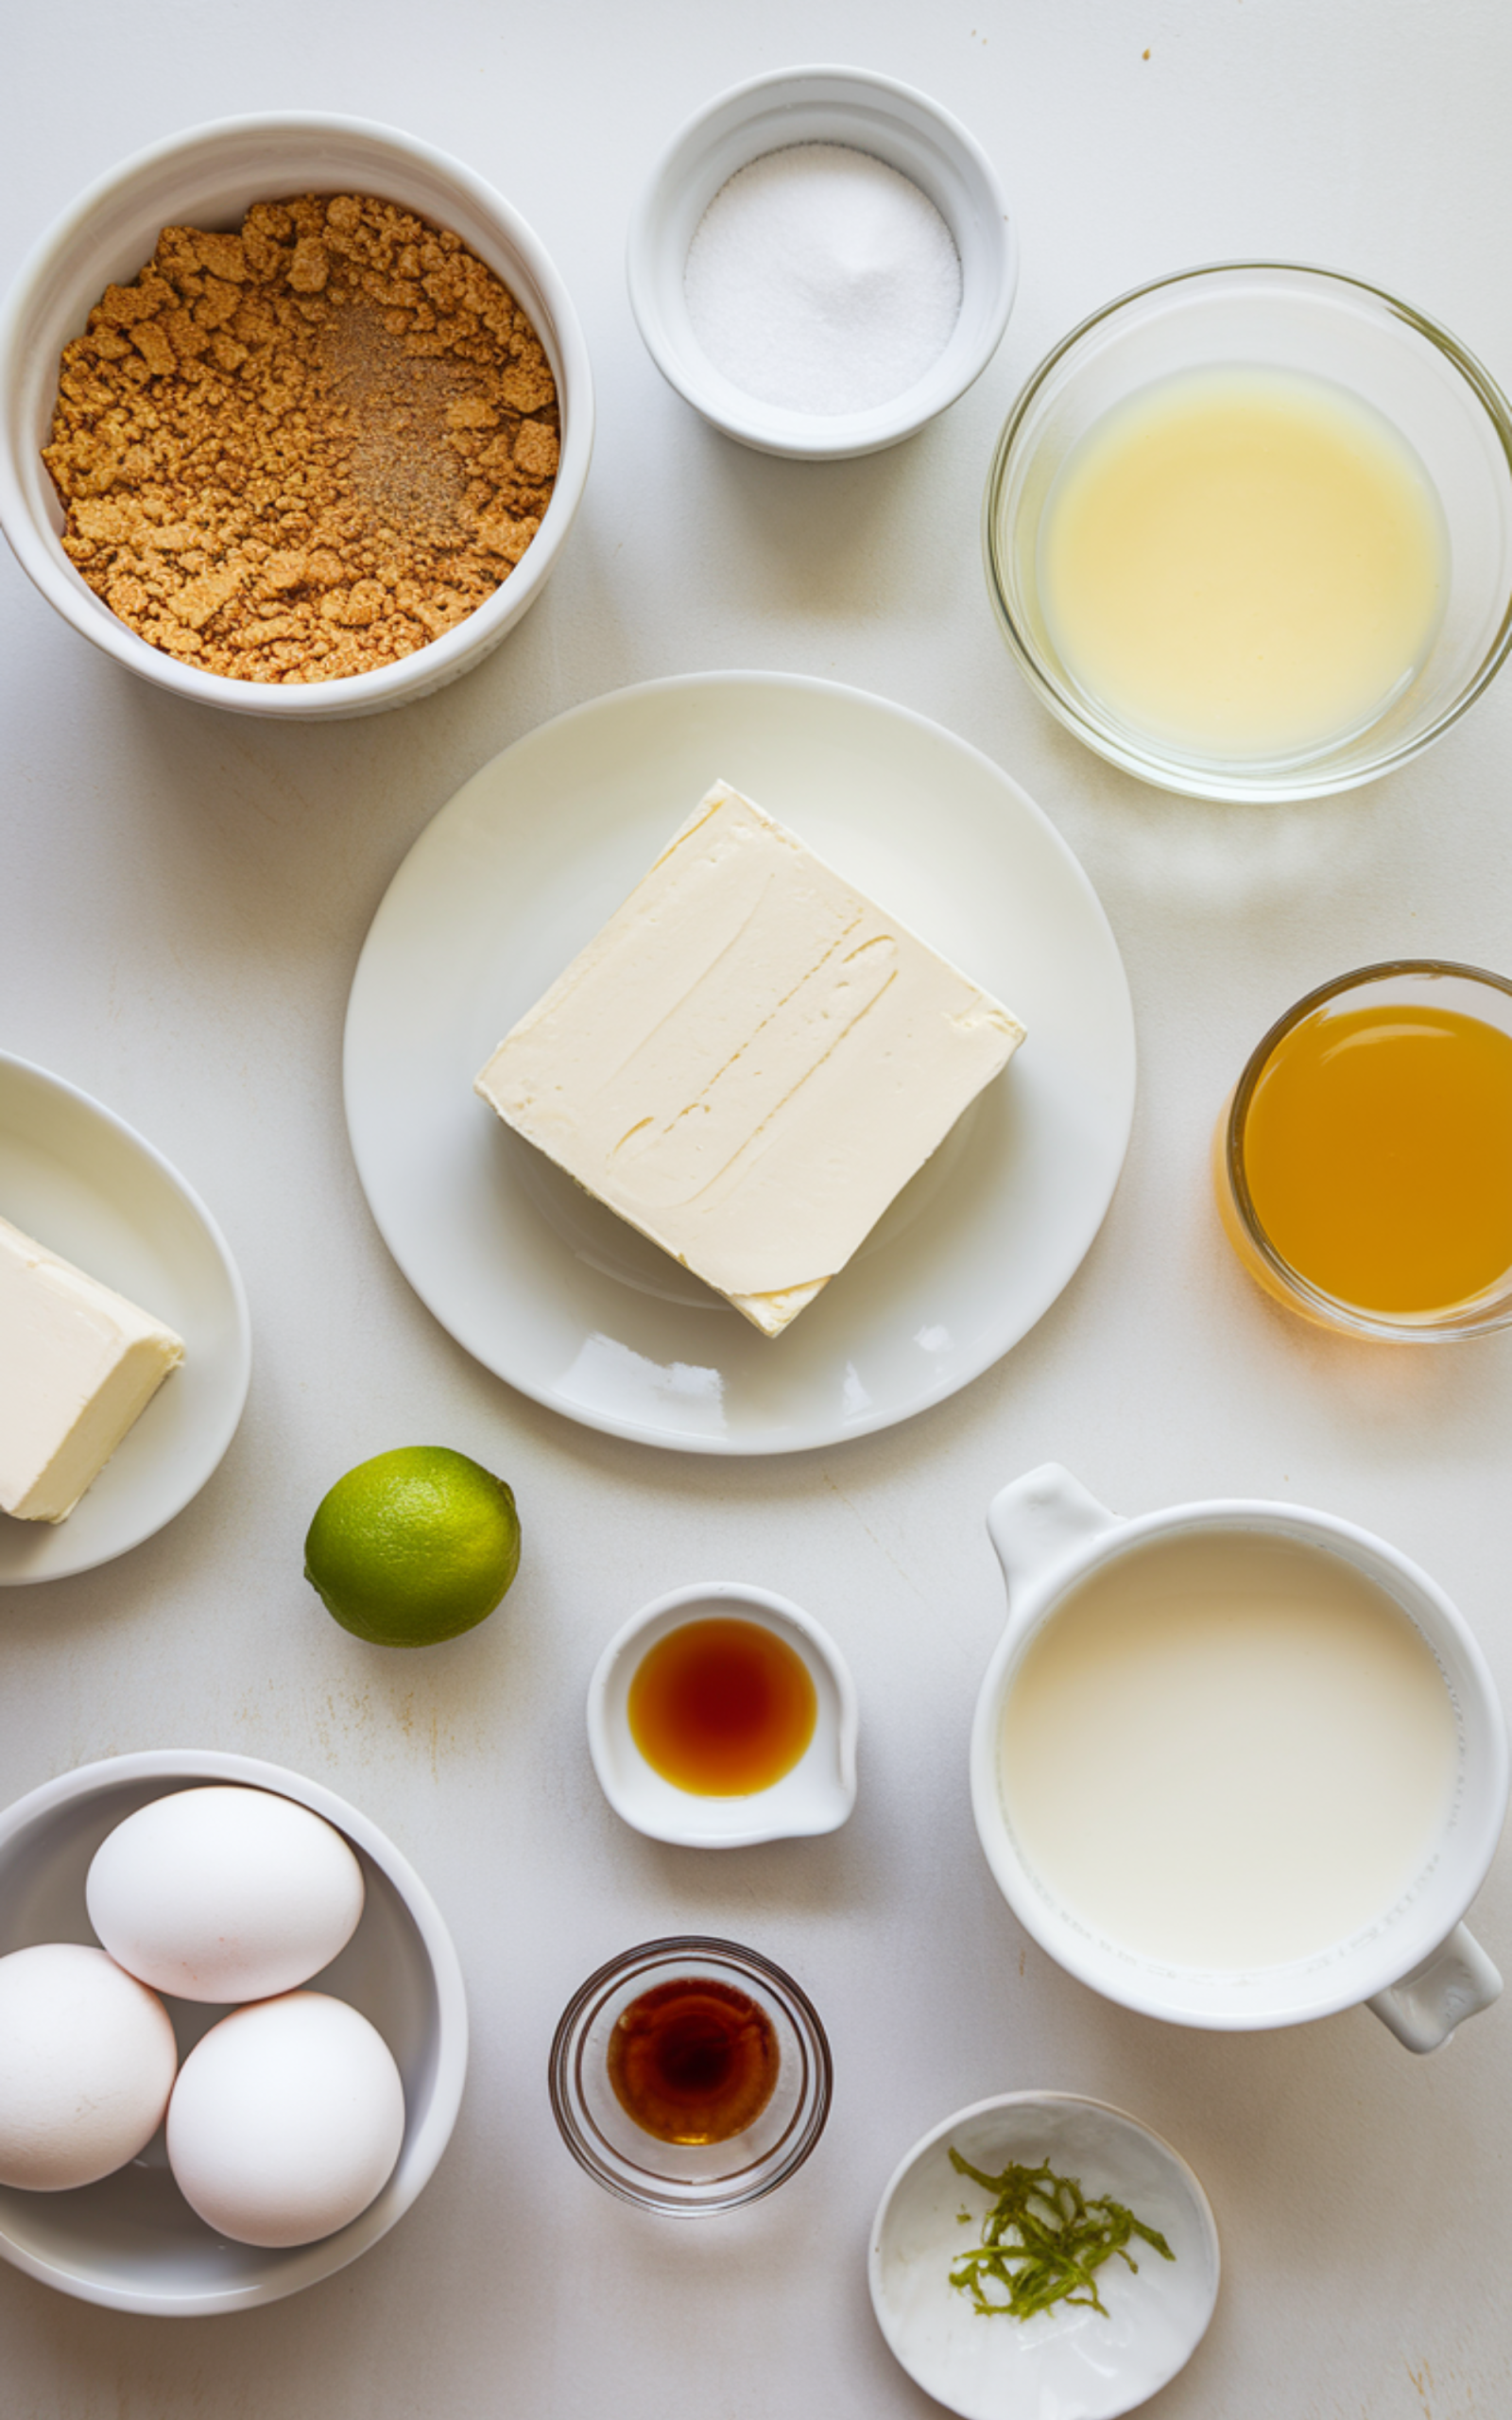
- Graham cracker crumbs
- Granulated sugar
- Unsalted butter
- Cream cheese
- Sweetened condensed milk
- Key lime juice
- Lime zest
- Large eggs
- Vanilla extract
- Salt
Ingredient Notes
- Graham Cracker Crumbs: Form the base of the crust, providing structure and classic flavour; you can crush whole graham crackers in a food processor if pre-made crumbs are unavailable.
- Granulated Sugar: Sweetens both the crust and filling while balancing the tartness of the lime; superfine sugar can be used for a smoother filling texture.
- Unsalted Butter: Binds the crust and adds richness; always use melted butter for even mixing and choose unsalted to control sodium levels.
- Cream Cheese: Adds body and slight tang to the filling, ensuring creamy, stable Key Lime Pie Bars; full-fat works best for proper setting.
- Sweetened Condensed Milk: Provides sweetness and structure, thickening naturally when combined with lime juice; do not substitute evaporated milk.
- Key Lime Juice: The star ingredient that gives authentic tart flavour; bottled key lime juice works well, but fresh is ideal if available.
- Lime Zest: Intensifies citrus aroma and flavour; zest only the green outer layer to avoid bitterness.
- Large Eggs: Help the filling set into smooth, sliceable bars; bring to room temperature for better blending.
- Vanilla Extract: Adds subtle warmth and rounds out sharp citrus notes; pure vanilla extract is preferred.
- Salt: Enhances overall flavour and balances sweetness; a small amount makes a noticeable difference.
How to Make Key Lime Pie Bars?
Step 1:
Preheat your oven to 350°F and line a 9×13-inch baking pan with parchment paper, leaving overhang for easy removal; lightly grease the parchment to prevent sticking. Proper preparation ensures clean, professional-looking Key Lime Pie Bars with sharp edges.
Step 2:
In a mixing bowl, combine graham cracker crumbs, granulated sugar, salt, and melted unsalted butter until evenly moistened and resembling wet sand. Press the mixture firmly into the prepared pan using the bottom of a measuring cup to create a compact, even crust layer; compacting well prevents crumbling later.
Step 3:
Bake the crust for 8 to 10 minutes until lightly golden and fragrant. Remove from the oven and allow it to cool slightly while preparing the filling; avoid overbaking, as too dark a crust can taste bitter under the bright citrus filling.
Step 4:
In a large mixing bowl, beat the softened cream cheese until completely smooth and free of lumps; this step is critical for silky Key Lime Pie Bars. Scrape down the sides of the bowl frequently to ensure even blending.
Step 5:
Add sweetened condensed milk gradually while mixing on low speed, ensuring a smooth and creamy texture. Mixing slowly prevents excess air, which can cause cracking during baking.
Step 6:
Stir in the key lime juice, lime zest, eggs, vanilla extract, and a pinch of salt. Mix just until combined; overmixing can incorporate air bubbles that affect the smooth finish of your Key Lime Pie Bars.
Step 7:
Pour the filling over the slightly cooled crust and smooth the surface with a spatula. Tap the pan gently on the counter to release trapped air bubbles and ensure an even layer.
Step 8:
Bake for 18 to 22 minutes, or until the centre is just set and slightly jiggles when gently shaken. The edges should appear firm while the centre remains soft; the bars will continue to set as they cool.
Step 9:
Allow the bars to cool completely at room temperature before transferring to the refrigerator for at least 3 hours, preferably overnight. Proper chilling ensures clean slicing and the signature creamy texture of perfect Key Lime Pie Bars.
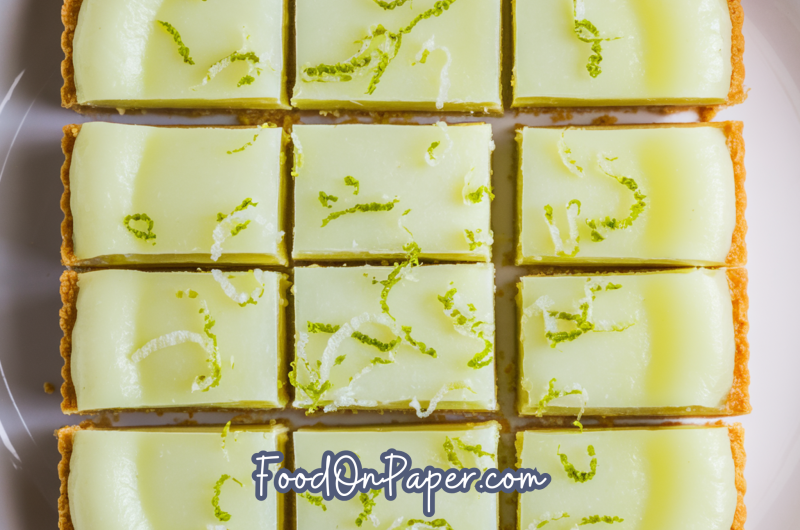
Step 10:
Lift the chilled bars from the pan using the parchment overhang and slice with a sharp knife wiped clean between cuts for neat squares. Serve chilled for the best flavour and texture experience.
Kitchen Equipment Needed
- 9×13-inch baking pan
- Parchment paper
- Mixing bowls
- Electric mixer or stand mixer
- Rubber spatula
- Measuring cups
- Measuring spoons
- Microplane or zester
- Citrus juicer
- Cooling rack
- Sharp knife
Pro Tips for Best Results
For truly bakery-quality Key Lime Pie Bars, use room temperature cream cheese and eggs to avoid lumps and ensure a silky filling. Freshly grated lime zest significantly enhances citrus aroma, while freshly squeezed key lime juice delivers the brightest flavour. Do not overbake; the centre should retain a slight jiggle when removed from the oven. Chill thoroughly before slicing to achieve clean edges. As someone who has tested multiple citrus bar recipes, I find that allowing the bars to rest overnight deepens flavour and improves texture dramatically.
Storage, Freezing, and Reheating
Store Key Lime Pie Bars in an airtight container in the refrigerator for up to 4 days; keep them chilled to maintain structure and freshness. For longer storage, freeze the bars in a single layer until firm, then wrap tightly and store for up to 2 months. Thaw overnight in the refrigerator before serving. These bars are best enjoyed cold, so reheating is not recommended, as heat can compromise the creamy texture.
Recipe Variations and Substitutions
For a gluten-free version of Key Lime Pie Bars, substitute gluten-free graham crackers for the crust. To make them slightly lighter, use reduced-fat cream cheese, though full-fat provides superior texture. Add shredded coconut to the crust for a tropical twist or swirl in a small amount of raspberry puree for a vibrant flavour contrast. Greek yoghurt can replace a small portion of cream cheese for a tangier profile. For households that prefer milder citrus, combine regular lime juice with key lime juice to balance tartness while preservingthe signature flavour.
FAQ
Can I use regular lime juice instead of key lime juice?
Yes, regular Persian lime juice works well if key limes are unavailable. However, authentic Key Lime Pie Bars have a slightly more floral and intense tartness when made with true Key limes.
Why did my Key Lime Pie Bars crack on top?
Cracking typically results from overbaking or incorporating too much air into the filling. Mix gently and remove the bars from the oven when the centre still has a slight jiggle.
How do I know when the filling is fully set?
The edges should appear firm while the centre gently wobbles when shaken. The bars will continue to firm up during cooling and refrigeration.
Can I make Key Lime Pie Bars ahead of time?
Absolutely. In fact, they taste even better after chilling overnight. The flavour deepens, and the texture becomes perfectly sliceable.
Do I need to use cream cheese in this recipe?
While traditional key lime pie often omits cream cheese, adding it to Key Lime Pie Bars provides extra structure and creaminess, making them easier to slice into neat squares.
How should I cut the bars cleanly?
Use a sharp knife and wipe it clean between each cut. Chilling thoroughly before slicing also helps create smooth, defined edges.
Can I double this recipe for a crowd?
Yes, you can double the recipe and bake it in two separate pans. Avoid overfilling a single pan, as thicker layers may not bake evenly.
key lime pie bars
Course: DessertCuisine: AmericanDifficulty: EasyServings
16
servingsPrep time
20
minutesCooking time
25
minutesCalories
320
kcalTotal time
45
minutesThese Key Lime Pie Bars feature a buttery graham cracker crust and a smooth, tangy lime filling. Perfectly balanced between sweet and tart, they chill into clean, sliceable squares ideal for gatherings or make-ahead desserts.
Ingredients
Graham cracker crumbs
Granulated sugar
Unsalted butter
Cream cheese
Sweetened condensed milk
Key lime juice
Lime zest
Large eggs
Vanilla extract
Salt
Directions
- Preheat your oven to 350°F and line a 9×13-inch baking pan with parchment paper, leaving overhang for easy removal; lightly grease the parchment to prevent sticking. Proper preparation ensures clean, professional-looking Key Lime Pie Bars with sharp edges.
- In a mixing bowl, combine graham cracker crumbs, granulated sugar, salt, and melted unsalted butter until evenly moistened and resembling wet sand. Press the mixture firmly into the prepared pan using the bottom of a measuring cup to create a compact, even crust layer; compacting well prevents crumbling later.
- Bake the crust for 8 to 10 minutes until lightly golden and fragrant. Remove from the oven and allow it to cool slightly while preparing the filling; avoid overbaking, as too dark a crust can taste bitter under the bright citrus filling.
- In a large mixing bowl, beat the softened cream cheese until completely smooth and free of lumps; this step is critical for silky Key Lime Pie Bars. Scrape down the sides of the bowl frequently to ensure even blending.
- Add sweetened condensed milk gradually while mixing on low speed, ensuring a smooth and creamy texture. Mixing slowly prevents excess air, which can cause cracking during baking.
- Stir in the key lime juice, lime zest, eggs, vanilla extract, and a pinch of salt. Mix just until combined; overmixing can incorporate air bubbles that affect the smooth finish of your Key Lime Pie Bars.
- Pour the filling over the slightly cooled crust and smooth the surface with a spatula. Tap the pan gently on the counter to release trapped air bubbles and ensure an even layer.
- Bake for 18 to 22 minutes, or until the centre is just set and slightly jiggles when gently shaken. The edges should appear firm while the centre remains soft; the bars will continue to set as they cool.
- Allow the bars to cool completely at room temperature before transferring to the refrigerator for at least 3 hours, preferably overnight. Proper chilling ensures clean slicing and the signature creamy texture of perfect Key Lime Pie Bars.
- Lift the chilled bars from the pan using the parchment overhang and slice with a sharp knife wiped clean between cuts for neat squares. Serve chilled for the best flavour and texture experience.