Do you love easy, delicious recipes? Join the Food On Paper family and never miss a recipe
Marshmallow Fondant
The first time I made marshmallow fondant, I was decorating my daughter’s birthday cake at midnight, hoping it would actually work. Now, marshmallow fondant is my go-to for every celebration because it’s easy and reliable. I’ve paired cakes covered in marshmallow fondant with Strawberry Cheesecake Milkshake, Classic Vanilla Cupcakes, and Hot Chocolate with Whipped Cream for the perfect party spread.
Ingredients
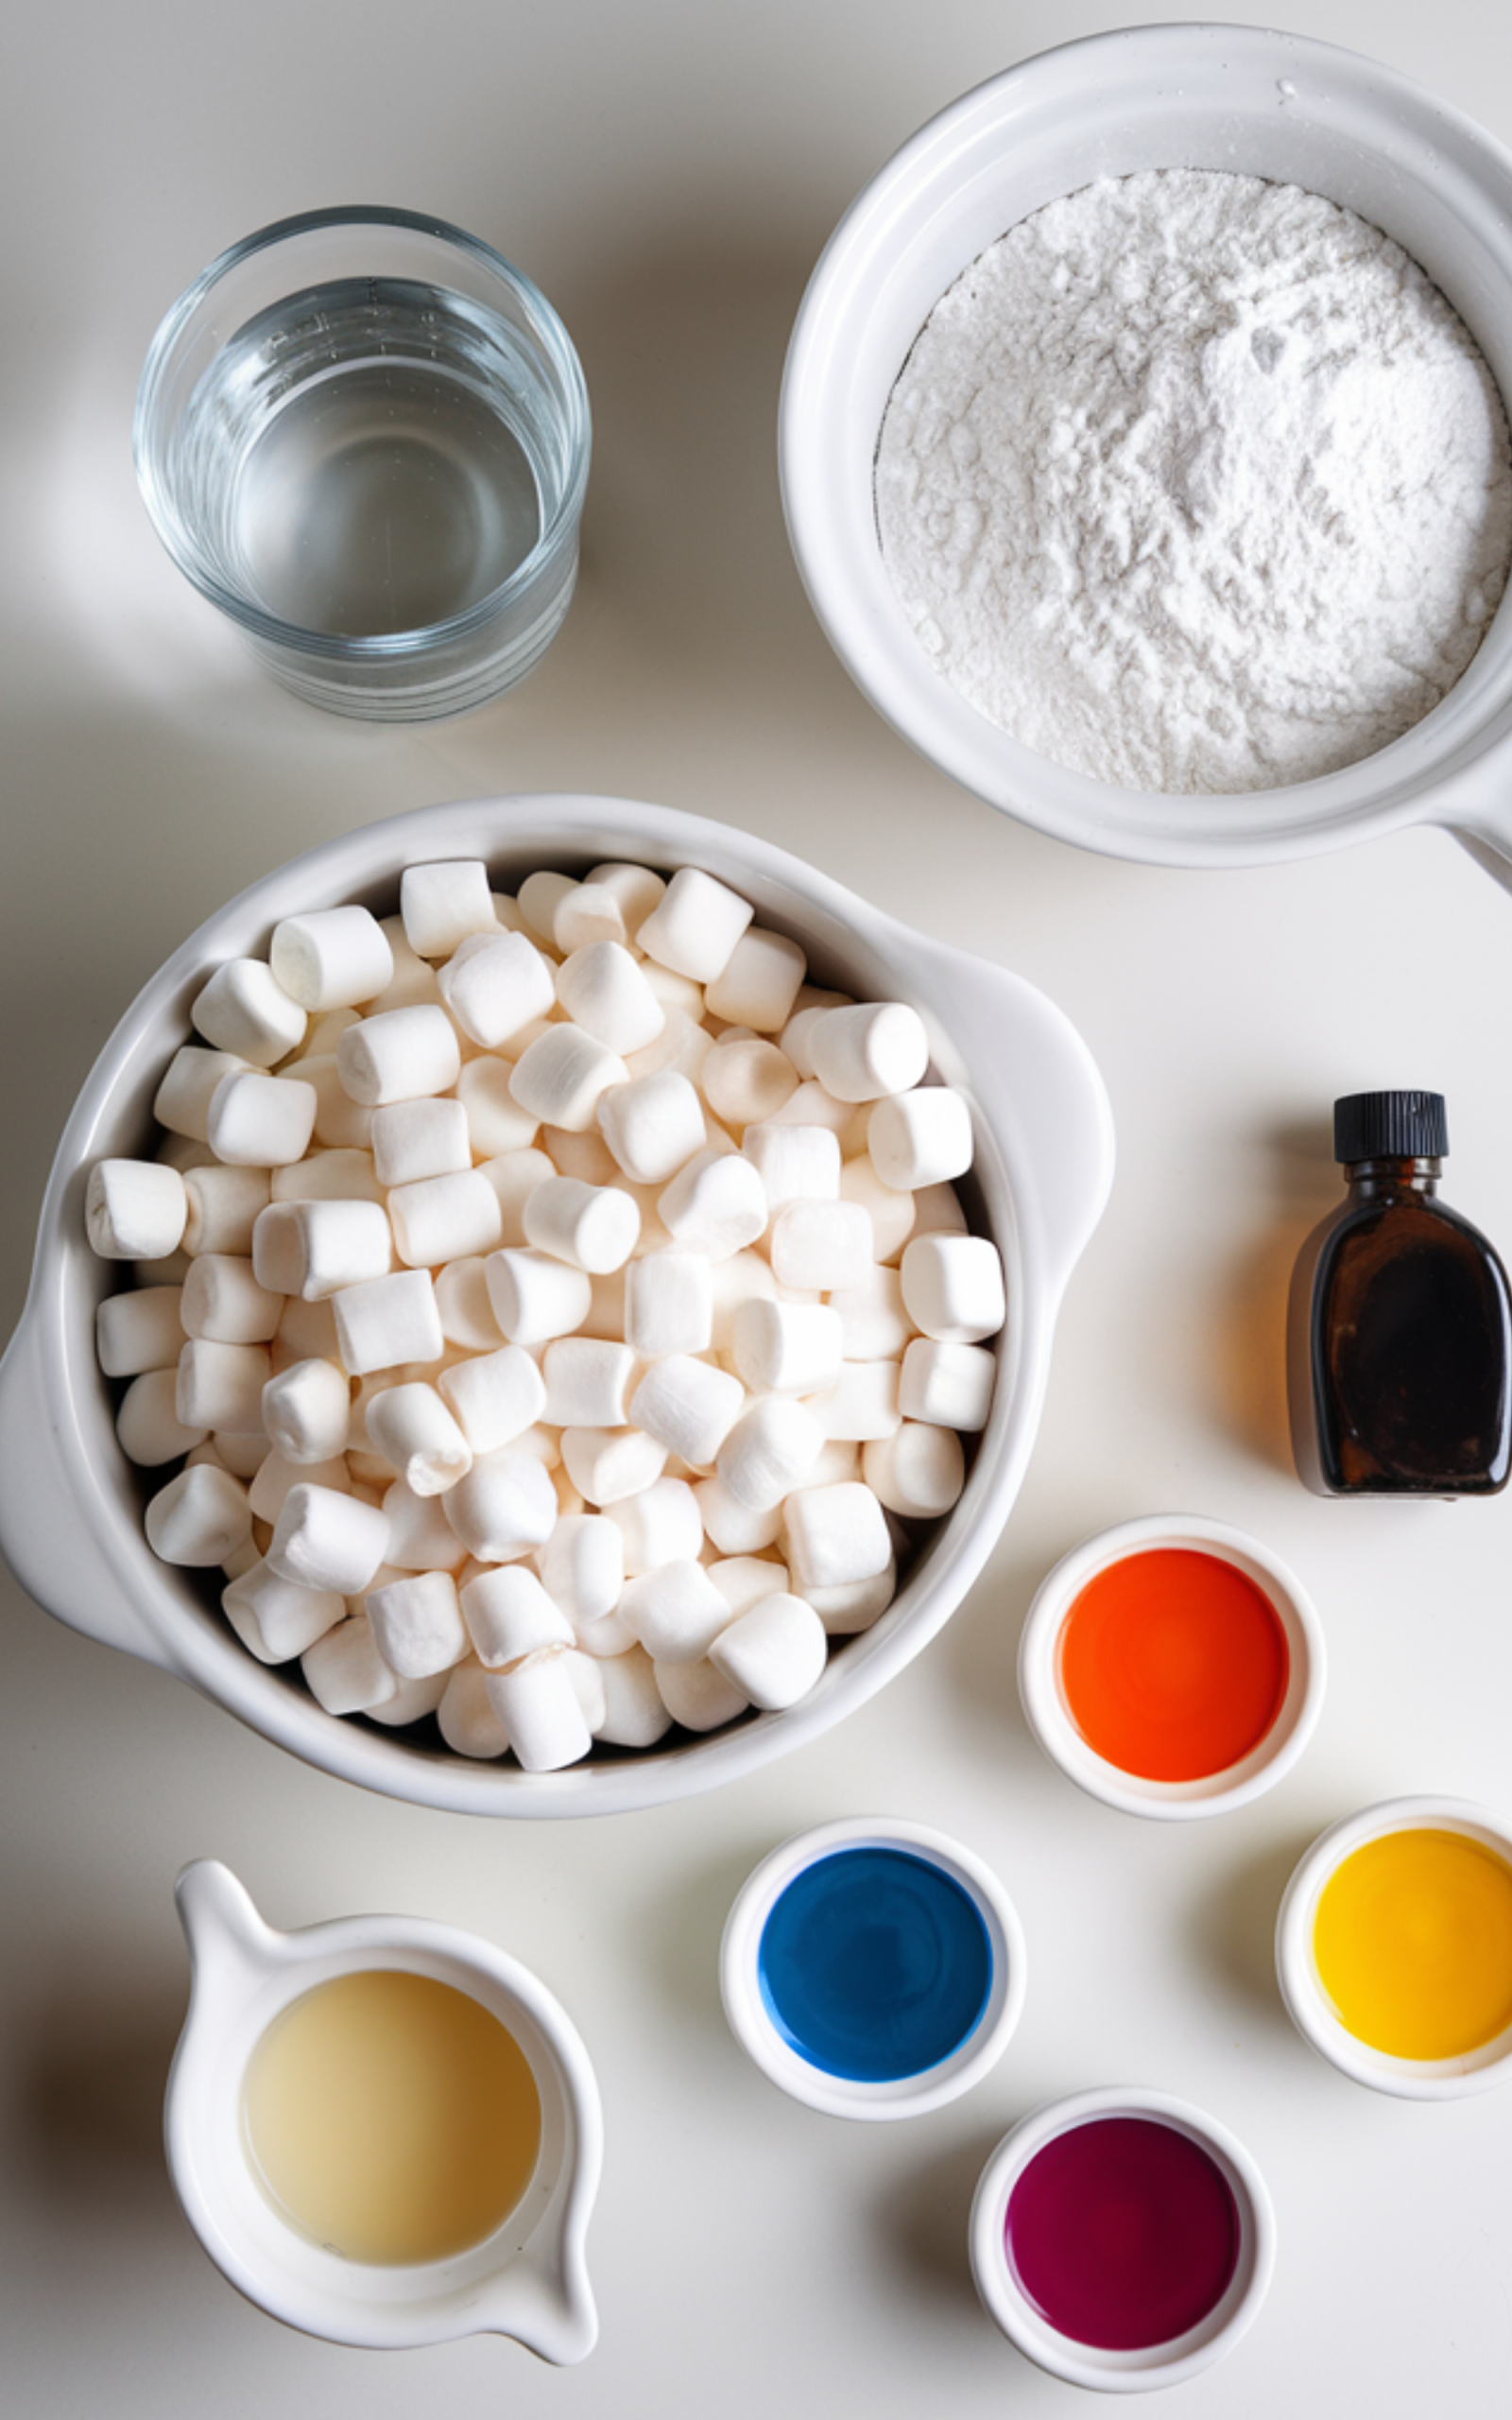
- Mini marshmallows
- Powdered sugar
- Water
- Vanilla extract
- Vegetable shortening
- Gel food coloring
Ingredient Notes
- Mini marshmallows: The base of marshmallow fondant. Use fresh, soft mini marshmallows for the smoothest texture. Large marshmallows can work, but may melt less evenly.
- Powdered sugar: Provides structure and sweetness. Sift before using to prevent lumps in your marshmallow fondant.
- Water: Helps melt the marshmallows smoothly. Use only a small amount to avoid sticky fondant.
- Vanilla extract: Adds flavor and balances the sweetness. Clear vanilla is ideal if you want bright white marshmallow fondant.
- Vegetable shortening: Prevents sticking and keeps the dough pliable. Coat your hands and work surface lightly.
- Gel food coloring: Highly concentrated and does not add excess moisture. Liquid coloring may make marshmallow fondant too soft.
How to Make Marshmallow Fondant?
Step 1: Prepare Your Work Surface
Before melting anything, prepare your station. Lightly grease your countertop and hands with vegetable shortening. Also, grease a large microwave-safe bowl and a sturdy spatula.Sift your powdered sugar into a large bowl. This step is crucial. Lumps in powdered sugar will create grainy marshmallow fondant. Sifting ensures a silky finish.
Step 2: Melt the Marshmallows
Place the mini marshmallows into the greased microwave-safe bowl. Add a small amount of water. Microwave in short intervals, about 30 seconds at a time. Stir between each interval. Marshmallows expand quickly and can burn if overheated. Stop heating once the marshmallows are fully puffed and smooth when stirred. They should look glossy and elastic.
Step 3: Add Flavoring
Stir in the vanilla extract while the marshmallows are still warm.If you plan to color the entire batch, add gel food coloring at this stage. Stir thoroughly until evenly incorporated. For multiple colors, wait and divide the fondant after kneading.
Step 4: Incorporate the Powdered Sugar
Add about three-quarters of the sifted powdered sugar into the melted marshmallow mixture. Stir with a sturdy spatula. The mixture will become thick and sticky quickly. Once stirring becomes difficult, transfer the mixture onto your greased work surface.
Step 5: Knead the Marshmallow Fondant
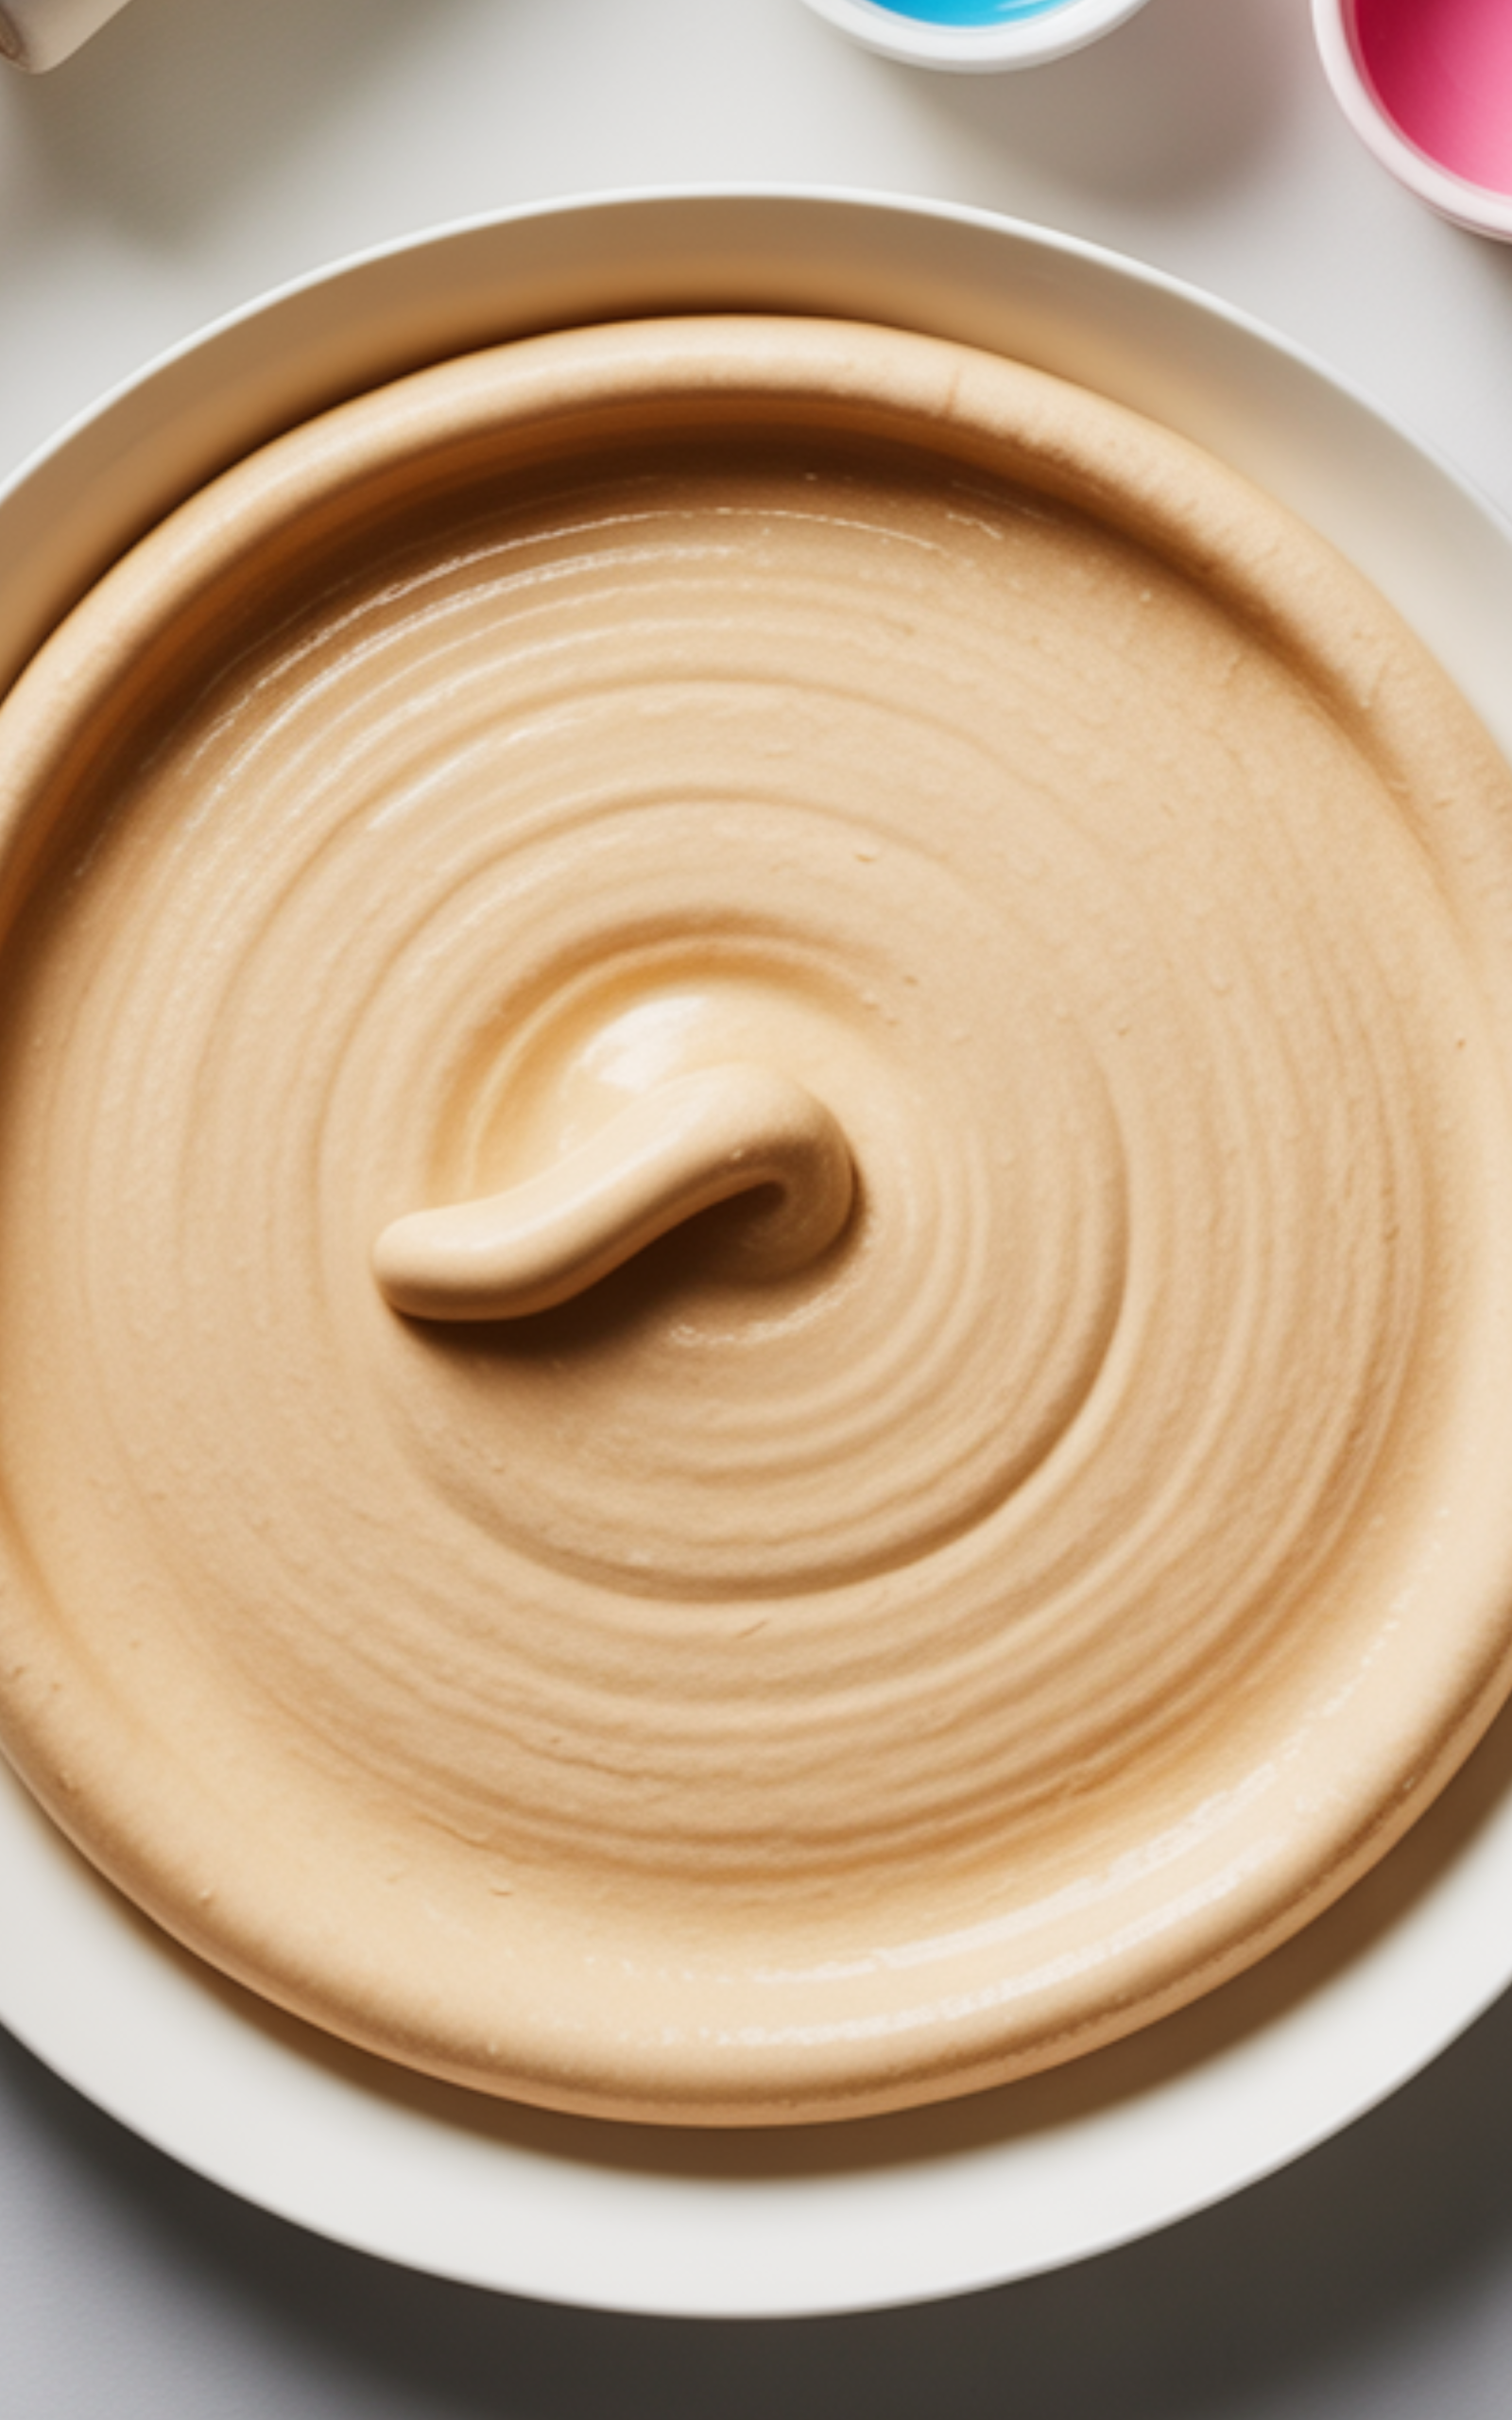
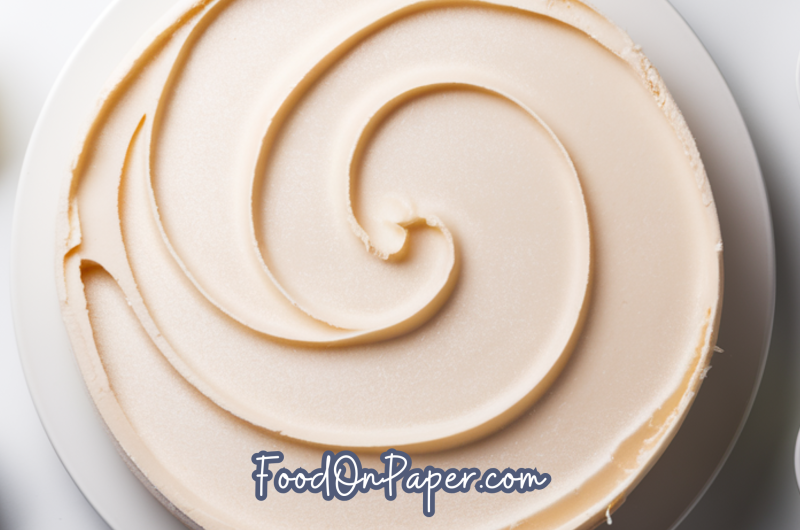
Grease your hands generously with vegetable shortening. Knead the mixture like bread dough. Fold, press, and turn. Continue until the marshmallow fondant becomes smooth, elastic, and no longer overly sticky.
Step 6: Rest the Fondant
Form the marshmallow fondant into a smooth ball.
Lightly coat it with vegetable shortening. Wrap tightly in plastic wrap, then place it inside an airtight bag. Let it rest at room temperature for at least several hours or overnight. Resting improves elasticity and makes rolling easier.
Step 7: Roll and Use
Before using, knead the marshmallow fondant briefly to soften it. Lightly dust your surface with powdered sugar or cornstarch. Roll evenly using a rolling pin. Rotate frequently to prevent sticking.
Kitchen Equipment Needed
- Microwave-safe bowl
- Sturdy spatula
- Sifter
- Measuring cups
- Rolling pin
- Plastic wrap
- Airtight storage bag
- Sharp knife or pizza cutter
- Fondant smoother (optional)
Pro Tips for Best Results
After years of decorating cakes, I’ve learned that temperature and patience make all the difference with marshmallow fondant. Always work in a cool, dry environment. Humidity makes fondant sticky and difficult to manage. Never rush the kneading process. Proper kneading develops elasticity and prevents tearing.
Storage, Freezing, and Reheating
Marshmallow fondant stores extremely well when wrapped tightly. Keep it double-wrapped in plastic and sealed in an airtight bag at room temperature for up to two weeks. Avoid refrigeration, as condensation can make it sticky. For longer storage, freeze tightly wrapped marshmallow fondant for up to three months.
Recipe Variations and Substitutions
Marshmallow fondant is easy to customize for different needs. For a pure white finish, use clear vanilla extract. For chocolate marshmallow fondant, knead in cocoa powder or melted chocolate after the initial kneading phase. To reduce sweetness slightly, add a pinch of salt. Vegan marshmallows can be used for a plant-based option, though the texture may vary slightly.
Frequently Asked Questions (FAQ)
Can I use regular marshmallows instead of mini marshmallows?
Yes, regular marshmallows work fine. Chop them into smaller pieces before melting to ensure even heating. Mini marshmallows melt more quickly and smoothly, which is why they are preferred for marshmallow fondant.
Why is my marshmallow fondant too sticky?
Stickiness usually means too little powdered sugar or high humidity. Knead in additional sifted powdered sugar gradually. Also, ensure your hands and surface are lightly greased with shortening.
Why is my marshmallow fondant cracking?
Cracking happens when too much powdered sugar is added, or the fondant is too dry—Knead in a small amount of shortening to restore flexibility. Always allow marshmallow fondant to rest before rolling.
How thin should I roll marshmallow fondant?
For cake covering, roll marshmallow fondant to about one-eighth-inch thickness. Too thin may tear. Too thick may look bulky and overly sweet.
Can I color marshmallow fondant after it’s made?
Yes. Add gel food coloring during kneading. Wear gloves to prevent staining. Knead until the color is evenly distributed.
Does marshmallow fondant taste better than store-bought fondant?
Many bakers prefer marshmallow fondant because it has a sweeter, vanilla-marshmallow flavor. Store-bought fondant is often firmer and less sweet.
marshmallow fondant
Course: DessertCuisine: AmericanDifficulty: EasyServings
9
servingsPrep time
20
minutesCooking time
5
minutesCalories
180
kcalTotal time
25
minutesMarshmallow fondant is a smooth, pliable cake covering made from melted marshmallows and powdered sugar. It is easy to prepare at home and perfect for decorating cakes, cupcakes, and custom dessert creations.
Ingredients
Mini marshmallows
Powdered sugar
Water
Vanilla extract
Vegetable shortening
Gel food coloring
Directions
- Before melting anything, prepare your station. Lightly grease your countertop and hands with vegetable shortening. Also, grease a large microwave-safe bowl and a sturdy spatula.
- Keep extra powdered sugar nearby for kneading adjustments.
- Microwave in short intervals, about 30 seconds at a time. Stir between each interval. Marshmallows expand quickly and can burn if overheated.
- Avoid overheating. Burnt marshmallows will give your marshmallow fondant a tough texture and slightly caramelized flavor.
- Add about three-quarters of the sifted powdered sugar into the melted marshmallow mixture.
- Roll evenly using a rolling pin. Rotate frequently to prevent sticking.
- Marshmallow fondant works beautifully for cake covering, cupcake toppers, and decorative accents.