Do you love easy, delicious recipes? Join the Food On Paper family and never miss a recipe
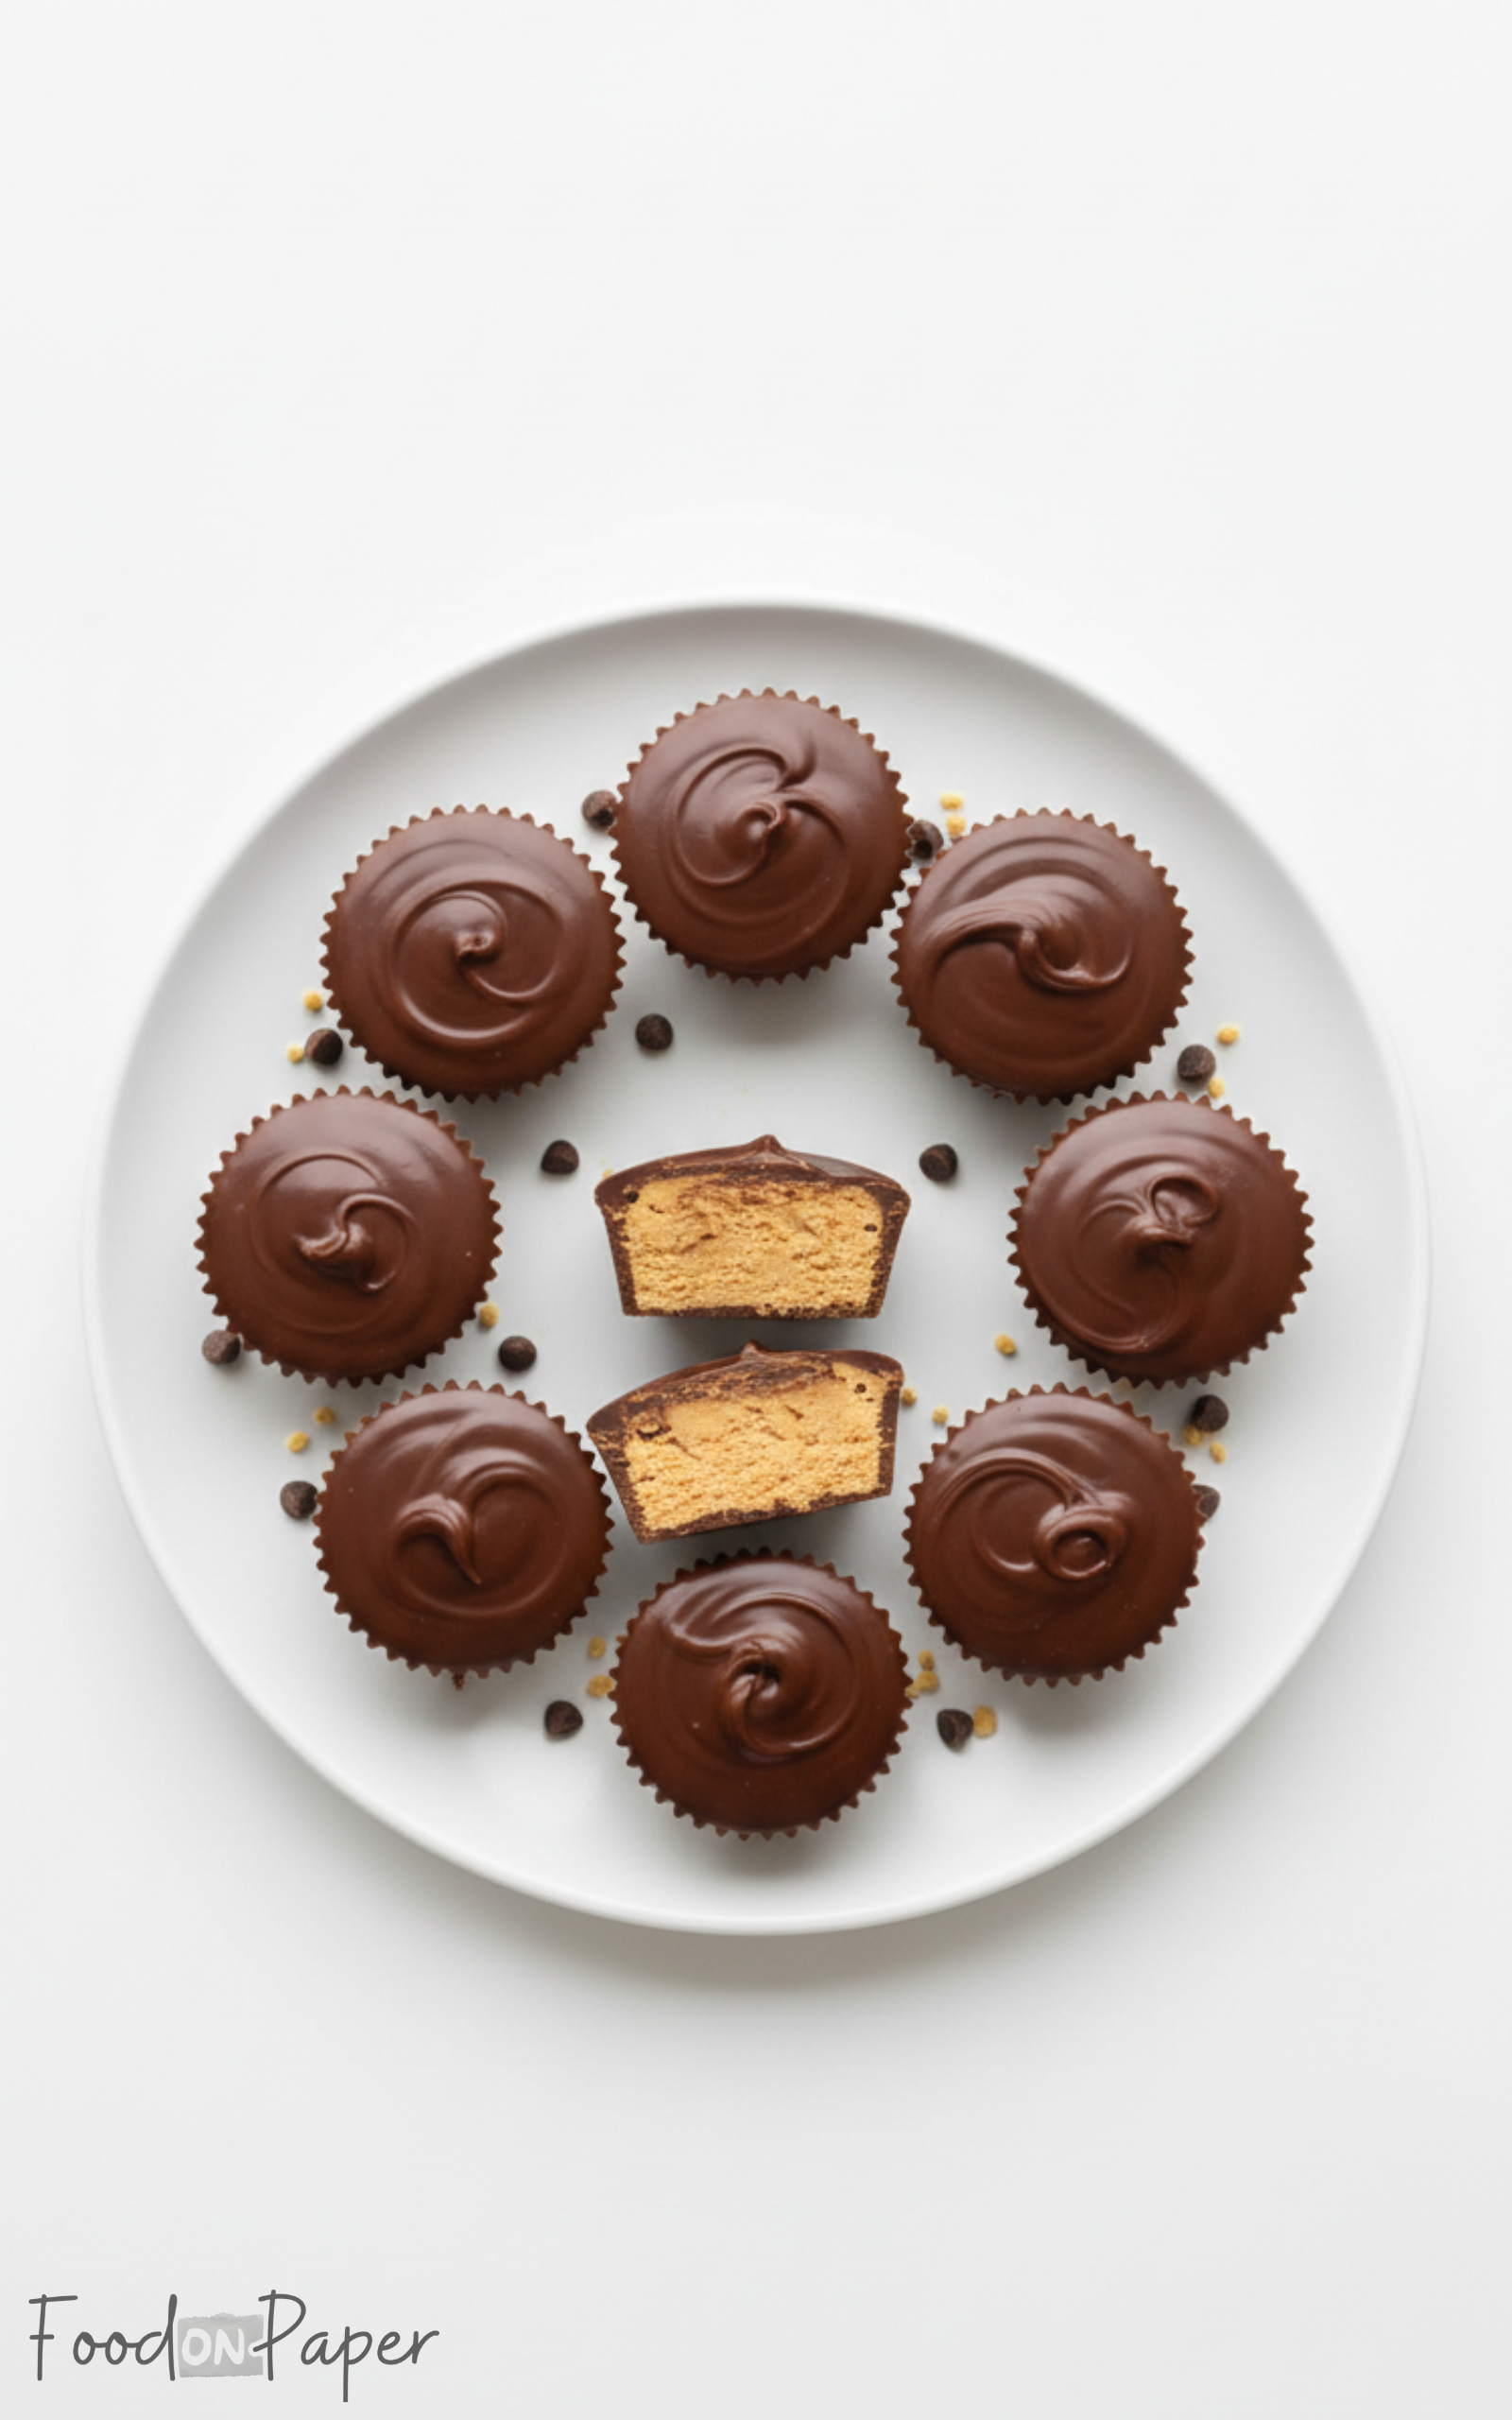
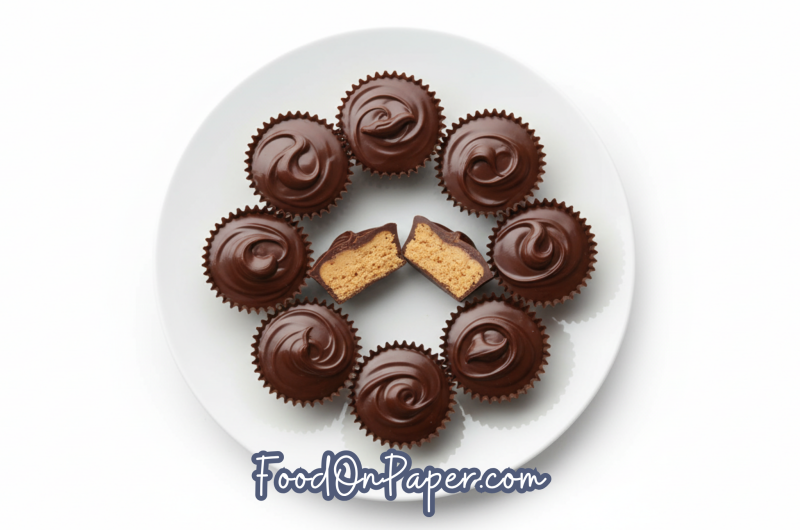
Perfect Homemade Copycat Reeses Cups
Have you ever wondered why homemade candy just hits different, or is it because it’s the tiny imperfections, that make it feel real, because one of my favorite memories.
And oh, don’t even get me started on chocolate because, who hasn’t had a moment where you taste test one bite of reeses cups, and suddenly the whole batch disappears, which is okay since that’s part of the fun therefore.
Ingredients
- 1 cup peanut butter (smooth or crunchy, your choice)
- 1/4 cup unsalted butter, softened
- 1/4 cup powdered sugar
- 1/2 teaspoon vanilla extract
- 2 cups chocolate chips (milk, dark, or semi-sweet)
- 1 tablespoon vegetable oil (optional, for smoother chocolate)
Kitchen Equipment Needed
- Mixing bowls (2-3)
- Spoon or spatula
- Muffin tin or silicone molds
- Cupcake liners (optional, but helpful)
- Microwave-safe bowl or double boiler
- Measuring cups and spoons
- Refrigerator or freezer
- Knife (for cutting peanut butter mixture if needed)
How to make Reeses cups?
Step 1: Prepare the Peanut Butter Filling
In a medium mixing bowl, combine 1 cup of peanut butter, 1/4 cup of softened butter, 1/4 cup of powdered sugar, and 1/2 teaspoon vanilla extract. Stir everything together until smooth and creamy. This is your peanut butter center, so make sure there are no lumps!
Step 2: Line Your Molds
Place cupcake liners in your muffin tin or set up your silicone molds. This keeps the chocolate from sticking and makes it easy to remove your Reese’s Cups later.
Step 3: Melt the Chocolate
In a microwave-safe bowl, add the chocolate chips. Microwave in 30-second intervals, stirring each time until smooth. If you want extra silky chocolate, add 1 tablespoon of vegetable oil. You can also use a double boiler if you prefer not to use a microwave.
Step 4: Layer the Chocolate
Spoon a small amount of melted chocolate into each liner or mold, just enough to cover the bottom. Use the back of your spoon to spread it evenly. This will be the base layer for your Reese’s Cups.
Step 5: Add the Peanut Butter Filling
Take a spoonful of the peanut butter mixture and gently press it on top of the chocolate layer. Make sure it’s centered and not touching the edges so the chocolate can seal it later.
Step 6: Top with More Chocolate
Pour or spoon more melted chocolate on top of the peanut butter layer. Spread it carefully to cover the peanut butter completely. This seals the filling inside and creates the classic Reese’s Cup look.
Step 7: Chill Until Firm
Place your Reese’s Cups in the refrigerator for at least 1 hour or in the freezer for 20-30 minutes. They should be firm and easy to remove from the molds once chilled.
Step 8: Enjoy!
Remove your homemade Reese’s Cups from the molds or liners and enjoy! Store any extras in an airtight container in the refrigerator for up to a week.
What to Eat With Reese’s Cups
Have you ever tried pairing sweets with something unexpected, or wondered what goes well with Reese’s cups, because I discovered that I love them with Valentine’s Day Heart Cookies or sometimes with Spicy Schezwan Roti Roll, so it’s like sweet meets spicy, which sounds crazy but works perfectly.
Tips for Perfect Reese’s Cups
- Use room temperature peanut butter – it mixes easier and spreads smoothly.
- Line your molds – cupcake liners make it simple to remove your cups without breaking.
- Microwave chocolate slowly – stir every 30 seconds to prevent burning.
- Add oil for silky chocolate – a small amount of vegetable oil makes the chocolate shiny and smooth.
- Press peanut butter gently – avoid touching the edges so chocolate seals the filling completely.
- Chill thoroughly – don’t rush; chilling ensures your cups hold their shape.
- Try different chocolates – milk, dark, or even white chocolate for variety.
- Store properly – keep them in the fridge or freezer to stay fresh and firm.
FAQ
What is this recipe made of?
This recipe is made of chocolate, peanut butter, butter, powdered sugar, and vanilla extract.
What does it taste like?
Homemade Reese’s Cups taste sweet, creamy, and nutty with a smooth chocolate coating and soft peanut butter center.
Can I use crunchy peanut butter?
Yes! Crunchy peanut butter adds extra texture and a bit of a nutty crunch.
Can I make them without chocolate chips?
You can try, but chocolate is what makes a Reese’s Cup, so it’s recommended to use chocolate.
How long do they last?
They last up to a week in the fridge or about a month in the freezer if stored in an airtight container.
Can I make them bigger or smaller?
Absolutely! Silicone molds or muffin tins come in different sizes, so you can adjust as you like.
Can I use natural peanut butter?
Yes, but it may be slightly runnier. You can add a bit more powdered sugar to help it firm up.
Do I need to use a double boiler?
No, a microwave works perfectly fine, just heat the chocolate slowly and stir often.
Can I add toppings?
Yes! Crushed nuts, sprinkles, or even mini chocolate chips on top can make them extra fun.
Are these gluten-free?
Yes! All ingredients in this recipe are naturally gluten-free.
homemade Copycat reeses cups
Course: DessertCuisine: AmericanDifficulty: EasyServings
12
servingsPrep time
15
minutesCooking timeminutes
Calories
200
kcalTotal time
15
minutesThese homemade Reese’s Cups are creamy, chocolatey, and packed with peanut butter goodness. They’re easy to make, fun to customize, and perfect for snacking, gifting, or sharing with family and friends.
Ingredients
1 cup peanut butter (smooth or crunchy, your choice)
1/4 cup unsalted butter, softened
1/4 cup powdered sugar
1/2 teaspoon vanilla extract
2 cups chocolate chips (milk, dark, or semi-sweet)
1 tablespoon vegetable oil (optional, for smoother chocolate)
Directions
- In a medium mixing bowl, combine 1 cup of peanut butter, 1/4 cup of softened butter, 1/4 cup of powdered sugar, and 1/2 teaspoon vanilla extract. Stir everything together until smooth and creamy. This is your peanut butter center, so make sure there are no lumps!
- Place cupcake liners in your muffin tin or set up your silicone molds. This keeps the chocolate from sticking and makes it easy to remove your Reese’s Cups later.
- In a microwave-safe bowl, add the chocolate chips. Microwave in 30-second intervals, stirring each time until smooth. If you want extra silky chocolate, add 1 tablespoon of vegetable oil. You can also use a double boiler if you prefer not to use a microwave.
- Spoon a small amount of melted chocolate into each liner or mold, just enough to cover the bottom. Use the back of your spoon to spread it evenly. This will be the base layer for your Reese’s Cups.
- Take a spoonful of the peanut butter mixture and gently press it on top of the chocolate layer. Make sure it’s centered and not touching the edges so the chocolate can seal it later.
- Pour or spoon more melted chocolate on top of the peanut butter layer. Spread it carefully to cover the peanut butter completely. This seals the filling inside and creates the classic Reese’s Cup look.
- Place your Reese’s Cups in the refrigerator for at least 1 hour or in the freezer for 20-30 minutes. They should be firm and easy to remove from the molds once chilled.
- Remove your homemade Reese’s Cups from the molds or liners and enjoy! Store any extras in an airtight container in the refrigerator for up to a week.